
Last updated November 2, 2026
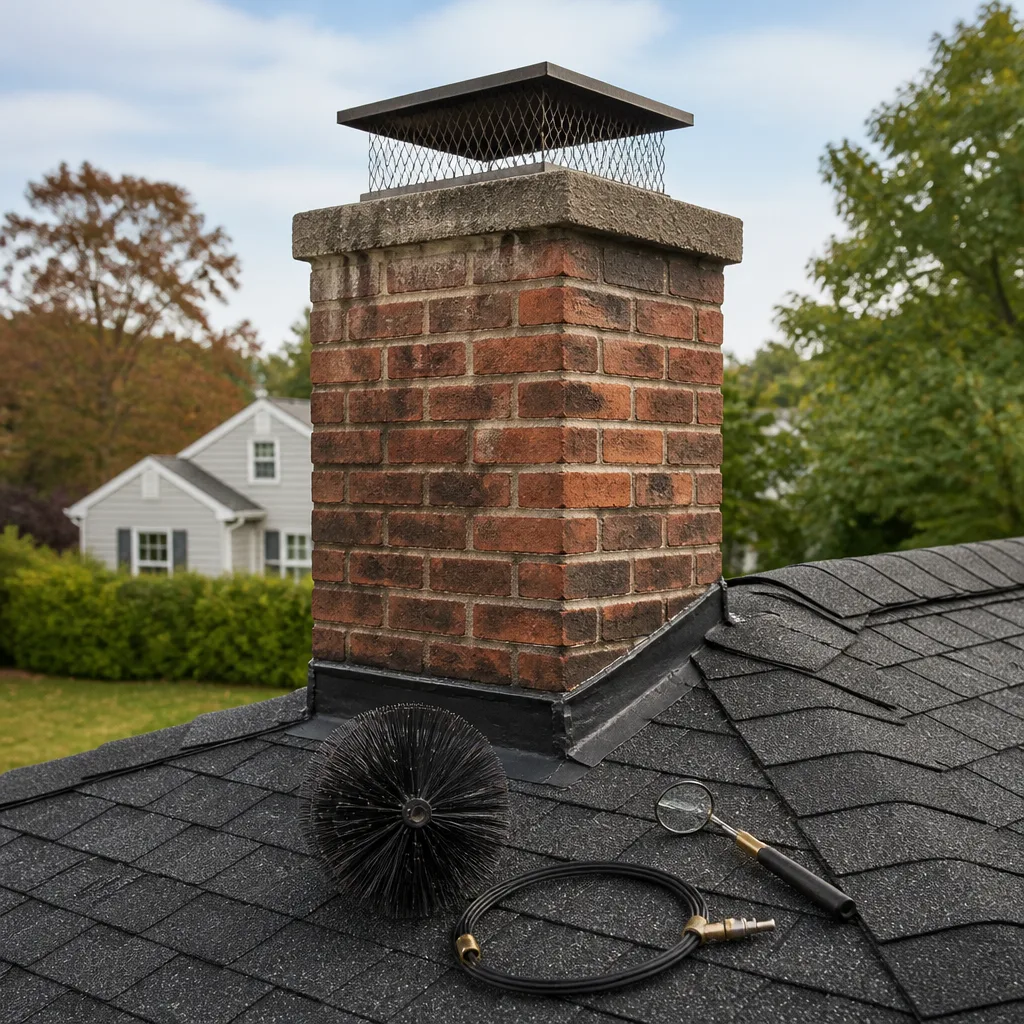 Sweep & inspection
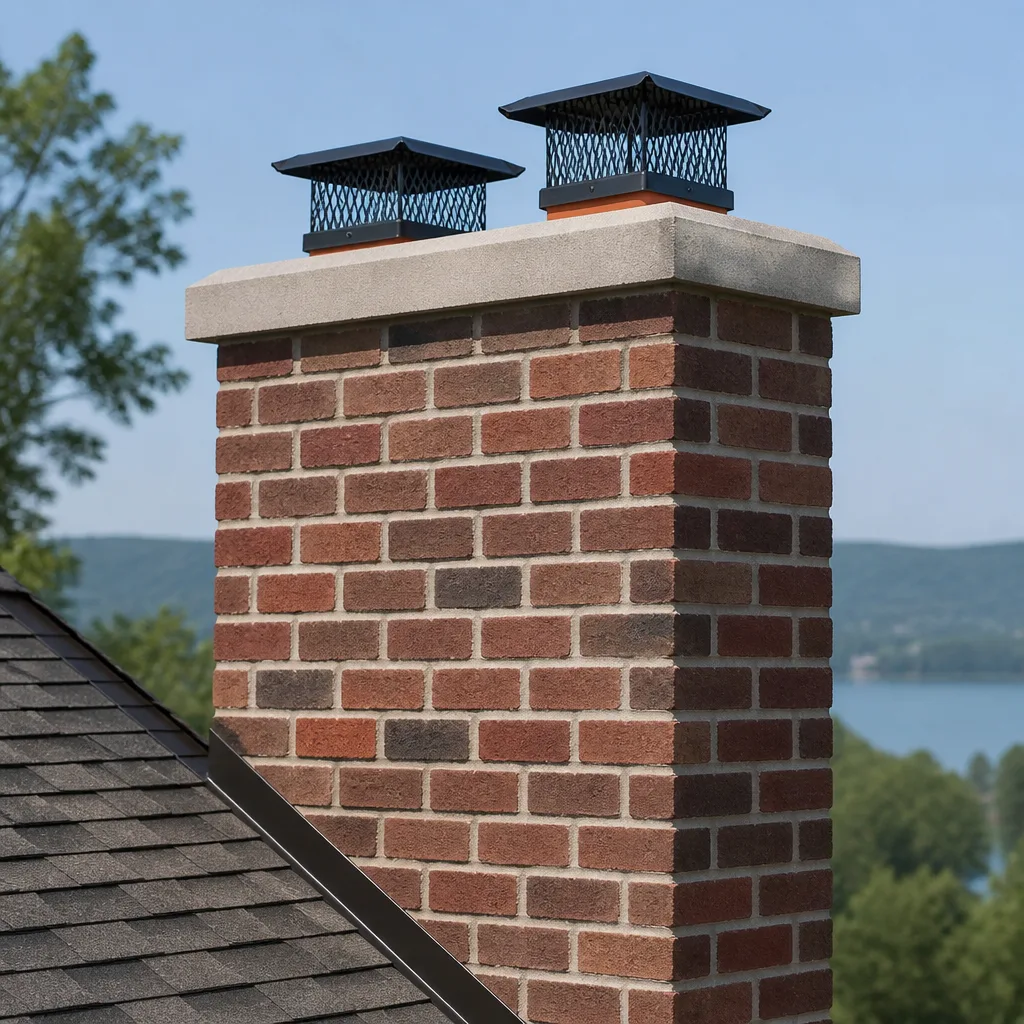 Caps & crowns
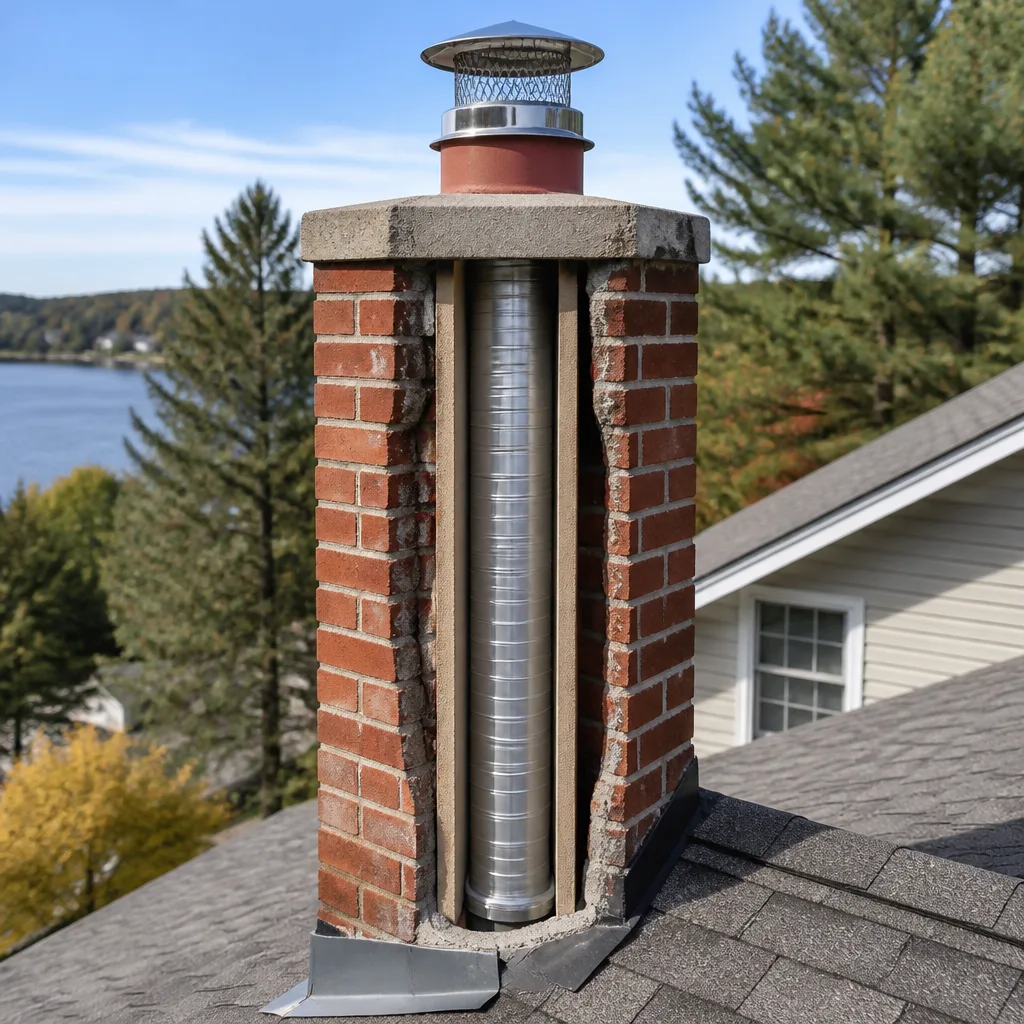 Flue relining
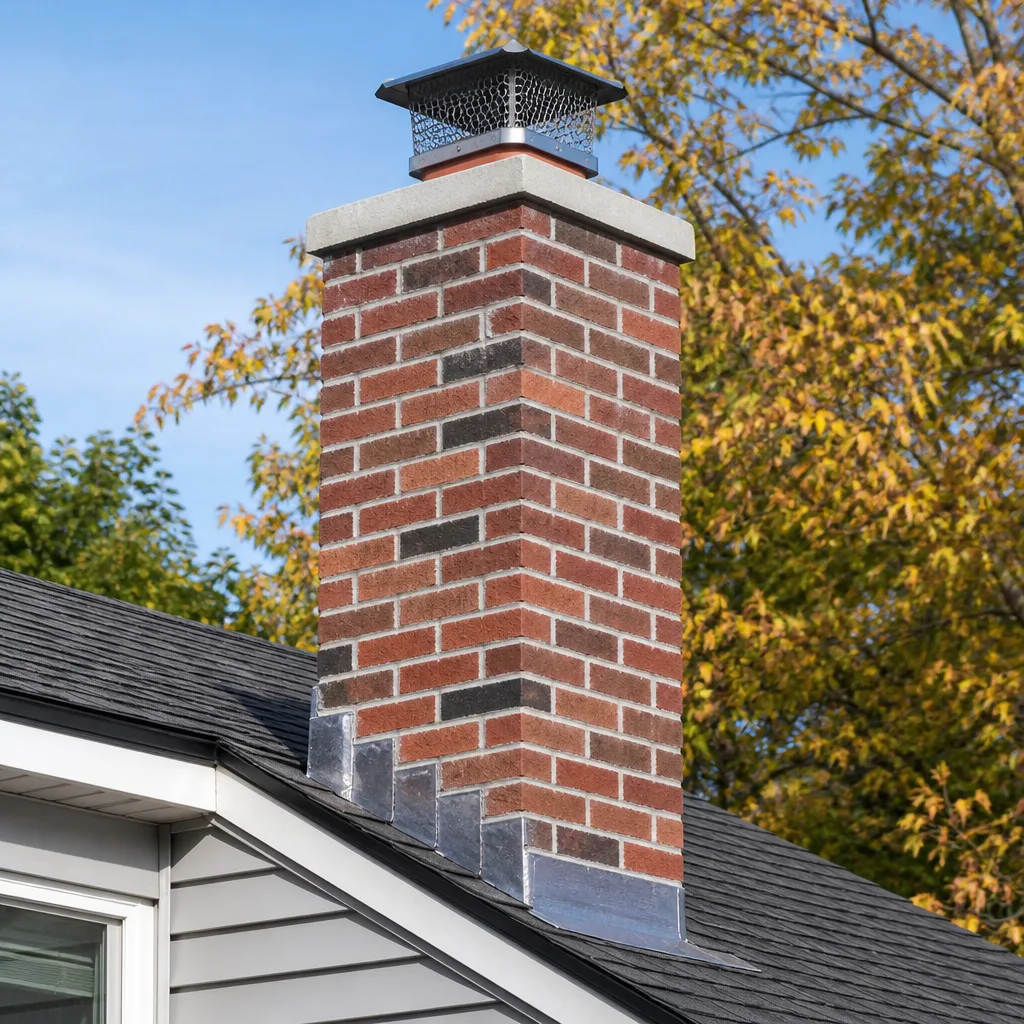 Masonry repair
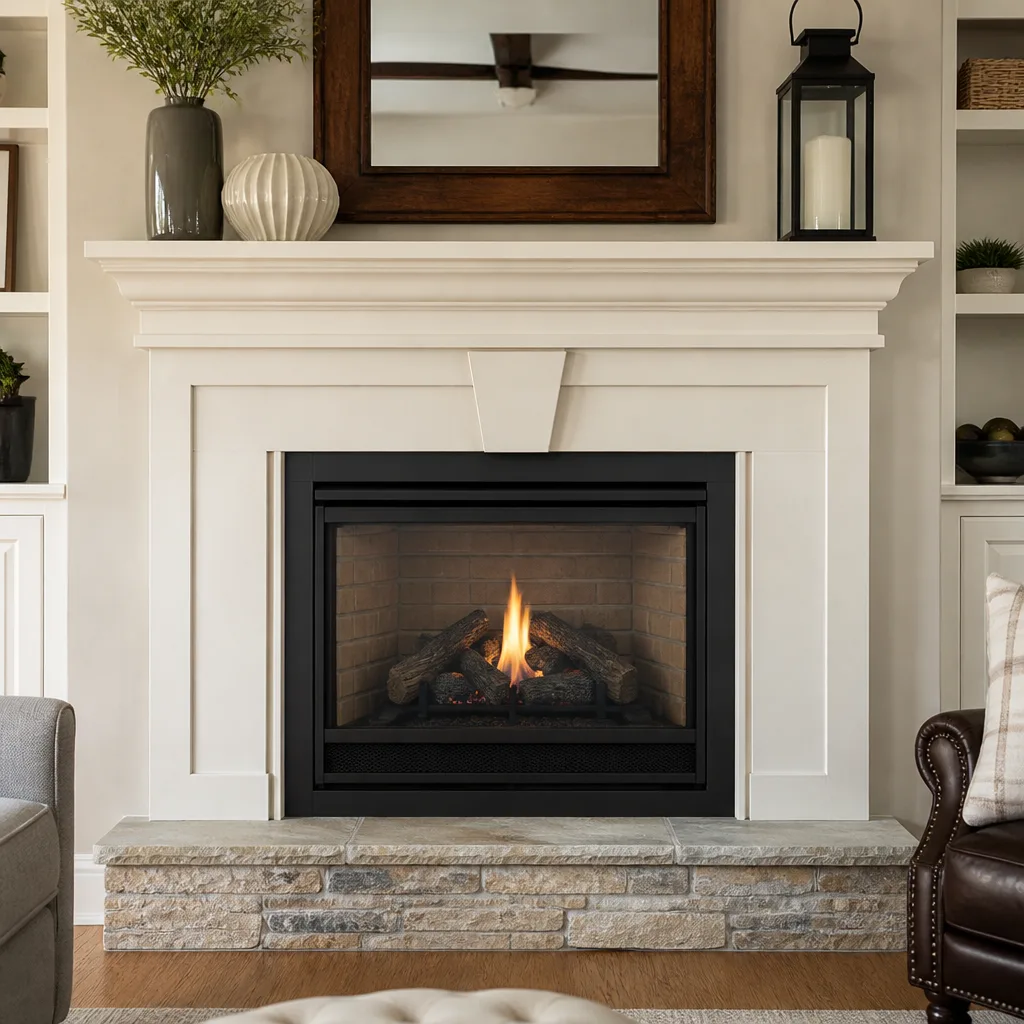 Gas fireplace service
Level 1 sweep and inspection to the NFPA 211 annual standard - flue, crown, cap, and flashing checked and photographed
Chimney sweep logs do not sweep chimneys. They loosen some creosote - which then falls where a brush and vacuum still have to collect it.
Chimney Sweep Troubleshooting: Common Problems and How to Fix Them
Here’s a number that should make every Jurupa Valley homeowner pause: the National Fire Protection Association reports that chimney fires account for roughly 25,000 residential fires annually in the United States, and the majority of them involve fireplaces that were used regularly but never properly diagnosed. The real issue is that most homeowners treat every chimney symptom as the same problem. Smoke backing up? Must be dirty. Weird smell after rain? Must need a sweep. Neither assumption is reliably true, and acting on the wrong diagnosis is how a $250 cleaning turns into a $4,000 repair two years later. This guide walks through the four distinct failure modes behind the most common chimney complaints in Jurupa Valley, how to tell them apart by symptom, and when a professional camera inspection is the only honest way to quote a fix. For a deeper look at maintenance and inspection schedules, see our The Complete Chimney Sweep Guide for Jurupa Valley Homeowners.
Quick Answer
Most chimney problems fall into four categories: creosote buildup restricting airflow, a damper that no longer seals, a flue liner that has cracked or separated, and water intrusion through the crown or flashing. Each has a different physical signature, a different fix, and a very different price tag. Identifying which of the four you’re dealing with before calling a Chimney Sweep in Jurupa Valley means you’ll get an accurate quote instead of a guess. If you have smoke rolling back into the room, a damp smell after rain, or visible flaking inside the firebox, use this guide to narrow the cause, then call (866) 285-4905 for a camera-verified diagnosis.
Styles & brands we work with
- Sweep & inspection
- Caps & crowns
- Flue relining
- Masonry repair
- Gas fireplace service
Table of Contents
- The Four Real Causes of Draft Problems (and How to Tell Them Apart)
- How to Test Your Damper Seal with a Dollar Bill
- HeatShield vs. DuraFlex Liner Replacement: What Each Fixes
- Crown vs. Flashing: The Two Sources of Water Intrusion
- Creosote Stages and What They Mean for Sweeping Frequency
- Gas Fireplace Problems That Get Misdiagnosed
- Why Your Dryer Vent Belongs in This Conversation
- Common Mistakes to Avoid
- When to Call a Professional
- Frequently Asked Questions
The Four Real Causes of Draft Problems (and How to Tell Them Apart)
When smoke spills into a living room instead of rising up the flue, homeowners in Jurupa Valley typically assume the chimney is dirty. Sometimes they’re right. More often, the flue is clean enough and the actual culprit is something a brush will never touch. Here are the four distinct failure modes, each presenting with its own physical signature. We name these because homeowners who can describe their symptom accurately get better quotes and fewer unnecessary sweepings.
1. Creosote Buildup Restricting Airflow
This is the classic problem and the one sweeping actually solves. Creosote forms when wood smoke condenses on the cooler walls of the flue. It starts as a flaky soot, progresses to a tar-like glaze, and can harden into a shiny, brittle coating that reduces the flue’s effective diameter. The physical signature: smoke starts fine in the first fifteen minutes of a fire, then gradually backs up as the flue heats and the creosote expands. You might also notice a sharp, acrid smell that intensifies when the weather is humid. In Jurupa Valley, where winter burn seasons are short but intense, many homeowners never reach the stage-three creosote deposits that create serious draft restriction. But those who burn unseasoned oak or run low, smoldering fires will see buildup accelerate quickly.
2. Failed Throat Damper
Throat dampers sit at the top of the firebox and seal the flue when the fireplace isn’t in use. They’re made of cast iron or steel, and they warp. Years of direct flame contact and thermal cycling bends the metal just enough that the damper no longer sits flush in its frame. The physical signature: smoke backs up continuously through the entire burn, not just after the flue gets hot. You might also notice cold air pouring into the room when the fireplace is idle, and if you look up with a flashlight, you’ll see visible gaps around the damper plate even when it’s in the closed position. A warped damper in a Jurupa Valley home means you’re paying to heat outside air all winter and your fires are drafting poorly regardless of how clean the flue is.
3. Undersized Flue for the Firebox
A flue that’s too small for the firebox creates a permanent drafting problem that sweeping cannot fix. The ratio matters: a firebox opening of 40 inches wide by 30 inches tall needs a flue with at least 110 square inches of cross-sectional area. If a previous homeowner enlarged the firebox or if the original construction cut corners, the flue simply can’t move the volume of air the fire produces. The physical signature: smoke rolls out across the top of the opening in a slow, lazy wave, curling down into the room even with the damper fully open and the flue freshly swept. This is a structural problem that requires either a new liner sized correctly or, in some cases, a firebox modification. No amount of cleaning will change the physics.
4. Negative House Pressure
Modern homes in Jurupa Valley are built tighter than they were thirty years ago. Double-pane windows, weather stripping, and sealed HVAC systems mean the house can’t pull in replacement air when the fireplace exhausts it. When your furnace kicks on, or when a bathroom fan or kitchen hood runs, the house pressure drops below the outside air pressure, and the chimney becomes the path of least resistance for air coming back in. The physical signature: the fireplace drafts fine on mild days with windows open, but smoke backs up whenever the furnace cycles or an exhaust fan runs. We see this in newer Jurupa Valley developments where homes are built to modern energy codes. The fix is often as simple as cracking a window near the fireplace or installing a make-up air vent.
Diagnosing which of these four you’re dealing with starts with observing the pattern of the smoke and the conditions when it worsens. If it’s gradual and tied to burn time, suspect creosote. If it’s constant, suspect the damper. If it’s always been bad regardless of cleaning, suspect flue sizing. If it’s intermittent and tied to your HVAC, suspect house pressure. A camera inspection confirms what observation suggests, and that’s the service we lead with at Chimney Sweep in Jurupa Valley.
How to Test Your Damper Seal with a Dollar Bill
Before you pay anyone to diagnose a damper problem, there’s a test you can run in thirty seconds with a dollar bill. It won’t give you a repair quote, but it will tell you whether your damper’s seal is compromised, and that’s the first question a sweep should answer. Here’s the step-by-step:
- Make sure the fireplace is completely cold and has not been used in at least 12 hours.
- Open the damper fully, then close it firmly. Do this twice to seat it in its normal closed position.
- Take a dollar bill and place half of it over the damper blade edge, holding the other half in your hand.
- Gently pull the bill. If it slides out with little or no resistance, the damper isn’t sealing.
- Repeat at three points along the damper edge: the left side, the right side, and the center front.
- If the bill tugs firmly or tears before it slides free, the seal at that point is tight.
A damper that fails this test on one or more edges is leaking conditioned air out of your home. The energy loss adds up fast. In a 2,000-square-foot Jurupa Valley home, a warped damper that leaks a constant stream of heated air during the winter can add $180 to $320 per year in heating costs, assuming a 4-month heating season and average Southern California electricity or gas rates. That’s money spent heating a chimney that’s pulling your conditioned air straight through the flue. Replacing a throat damper typically runs $300 to $650, so the repair pays for itself in two to three seasons, not counting the improvement in summer cooling efficiency when your air conditioner isn’t fighting warm air leaking down the flue.
In our experience, dampers fail silently. Homeowners in Jurupa Valley often don’t realize theirs is warped until they notice a cold draft near the fireplace in January or see smoke curling into the room during a fire. The dollar-bill test takes less than a minute and gives you a concrete answer before anyone charges you for a visit.
HeatShield vs. DuraFlex Liner Replacement: What Each Fixes
When a flue liner shows damage, the repair conversation usually comes down to two options: a HeatShield Cerfractory Flue Sealant application or a full DuraFlex stainless steel liner replacement. These address fundamentally different problems, and the cost gap between them is substantial. Knowing which one your chimney actually needs will save you from either overpaying for a liner you don’t need or under-fixing a flue that’s beyond surface repair.
What a HeatShield Application Addresses
HeatShield is a cerfractory sealant, a ceramic-cement compound specifically engineered to resurface the interior of deteriorating masonry flue tiles. It’s applied as a sprayed or troweled coating that restores a smooth, sealed surface to flue tiles that have developed minor cracks, spalling, or surface erosion. The key point: HeatShield repairs the existing tile liner’s surface integrity. It seals small gaps where smoke and heat can escape into the chimney chase, and it restores a smooth surface that creosote is less likely to stick to. We use HeatShield at Chimney Repair in Jurupa Valley for flues where the tile structure is still sound and the damage is confined to the surface.
HeatShield application typically runs $2,500 to $4,500 depending on flue height and accessibility. It’s a restoration-level repair, not a cleaning, and it requires a certified applicator using the proper spray equipment. Many sweep-only companies don’t offer it because the equipment and training requirement is significant. When we recommend HeatShield, we show the homeowner the camera footage of the flue tiles before and after, so the decision is based on visible evidence, not a sales pitch.
What a DuraFlex Liner Replacement Addresses
DuraFlex is a flexible stainless steel liner system, the product that professional chimney specialists use when the existing flue is beyond surface repair. A full reline is warranted when tiles have cracked through entirely, when mortar joints have separated to the point of structural failure, when an unlined chimney needs to be brought into compliance for a new appliance, or when the existing flue is sized incorrectly for the firebox. In these situations, no amount of resurfacing will restore the flue’s structural or thermal integrity. The old flue tiles either remain in place as a chase or are partially removed, and the stainless steel liner becomes the new flue.
A DuraFlex reline is a bigger job and a bigger investment, typically ranging from $5,500 to $9,500 in the Jurupa Valley market depending on flue height, access, and whether the chimney needs a poured insulation layer between the liner and the old tile. The insulation matters: a stainless liner without insulation can struggle to maintain the draft temperature needed for efficient burning, especially in a short Southern California chimney that doesn’t have a long vertical run to build draft naturally.
Here’s the cost gap in table form, and why the distinction matters when you’re quoted a liner number:
- HeatShield surface restoration: $2,500 – $4,500. Appropriate for: surface cracks, spalling tiles, minor joint separation.
- DuraFlex full reline: $5,500 – $9,500. Appropriate for: through-cracks, structural tile failure, wrong flue sizing, unlined flue.
- A critical distinction: HeatShield is a repair to the existing system. DuraFlex is a replacement of the system’s core component. Different problems, different budgets.
If a sweep quotes a liner replacement without showing you camera footage, ask to see it. A cracked tile surface and a failed tile structure look different on camera, and that visual is the only honest basis for picking between a $3,000 sealant job and a $7,000 reline. We show footage as standard practice.
Crown vs. Flashing: The Two Sources of Water Intrusion
When a chimney leaks, the first visible symptom is usually a water stain on the ceiling near the fireplace or a damp, musty smell in the firebox after rain. The next step is figuring out where the water is entering, and this is where homeowners routinely confuse two distinct surfaces: the chimney crown and the flashing.
The Chimney Crown
The crown is the concrete slab that caps the top of the chimney structure. Its job is to shed water away from the flue tiles and the brick below. Crowns crack. In Jurupa Valley, the freeze-thaw cycle is mild compared to mountain climates, but thermal expansion from direct desert sun and the occasional winter frost still takes a toll on concrete over a decade or two. When a crown cracks, water seeps down through the masonry, wetting the bricks and mortar from the inside. The telltale sign: efflorescence, which appears as a white, chalky powder on the outside of the chimney brick. You’ll also see loose or spalling mortar joints near the top of the chimney, and in advanced cases, the brick itself will flake. The fix is a crown repair or replacement, typically $800 to $1,800 depending on chimney size and whether the crown needs to be re-cast or can be sealed with a flexible crown coat. Products from Gelco and Copperfield supply the crown repair materials we use.
Flashing
Flashing is the metal barrier where the chimney meets the roofline. It’s typically made of aluminum, galvanized steel, or copper, and it consists of step flashing, counter-flashing, and sometimes a saddle or cricket. Flashing fails when the sealant degrades, when roofing nails back out, or when the metal itself corrodes. The telltale sign: water stains on the ceiling directly around the chimney chase, not on the external brick. You may also see lifted flashing edges or rusted metal when you inspect from a ladder. The fix is a flashing replacement or reseal, typically $600 to $1,500 depending on the roof pitch and the extent of the existing flashing. If a cricket was never installed on a wide chimney face, the fix can run higher because a properly sealed chimney-to-roof junction requires one.
The reason these get confused is that both produce interior stains near the fireplace. The distinction is in the location of the staining and the condition of the external surface. Stains on the ceiling directly around the chimney are almost always flashing. Efflorescence on the brick and damaged mortar joints at the top of the structure are the crown. We diagnose this with a water test during a standard inspection, and the camera goes up on the roof if the flashing is suspect. Homeowners in Jurupa Valley with older homes built before modern flashing standards are the ones most likely to find failed flashing during a routine sweep.
Creosote Stages and What They Mean for Sweeping Frequency
Every chimney develops creosote. The question is how much, in what form, and how often it needs to be removed. In Jurupa Valley’s burn climate, where fireplaces are used heavily from November through February and sit idle the rest of the year, the accumulation pattern is often different than in colder regions where chimneys run daily for six months. Here’s what the stages look like and what they mean for maintenance scheduling.
Stage One: Flaky Soot
This is the fine, dusty black coating that brushes off easily with a standard sweep. It forms on the flue walls during normal, hot-burning fires. A stage-one flue is not a safety emergency, but it should be swept before the next burn season. In Jurupa Valley, a chimney used 40 to 60 times per winter typically reaches stage one by spring and should be swept annually. This is the stage where a professional chimney sweep is a maintenance task, not a repair call. Our Chimney Sweep Jurupa Valley home page walks through the standard sweep process and what to expect.
Stage Two: Tar-Like Glaze
When creosote condenses and re-condenses during low-temperature burns, it forms a sticky, tar-like glaze that does not brush off easily. Stage-two creosote typically forms in flues where homeowners burn unseasoned wood or run fires with the damper partially closed. This is common among Jurupa Valley homeowners who burn oak that was split six months ago instead of two years ago. Stage-two creosote requires mechanical removal with rotary loops and can take two to three times as long to clean as stage one. If you’re at stage two, you should also evaluate your wood supply, because the problem will return at the same rate until the burning habits change.
Stage Three: Hardened, Glossy Coating
This is the dangerous stage. Stage-three creosote is a hard, shiny, brittle coating that has essentially baked onto the flue walls. It restricts airflow, it’s highly combustible, and it cannot be removed by brushing alone. In most cases, stage-three creosote requires chemical treatment or a HeatShield resurfacing to address the underlying texture. If a chimney in Jurupa Valley reaches stage three, it’s usually been several years since the last professional cleaning, or the homeowner has been burning heavily with poor draft for multiple seasons. Stage-three creosote is the leading contributor to chimney fires in residential wood-burning fireplaces.
The sweeping frequency question comes down to burn volume and wood quality. The NFPA’s standard language is that chimneys should be inspected at least once a year and swept when creosote reaches 1/8 inch of accumulation, but that number is less useful than a simple benchmark: if you burn more than a cord of wood per season, sweep annually. If you burn less, an every-other-year schedule may be sufficient, provided you’re burning seasoned hardwood. In Jurupa Valley’s climate, the biggest variable is wood moisture content; unseasoned oak from local suppliers is the most common reason we see stage-two creosote in flues that were swept the previous year.
Gas Fireplace Problems That Get Misdiagnosed
Gas fireplaces in Jurupa Valley homes present a different set of troubleshooting challenges than wood-burning units. The symptoms overlap, but the causes are usually unrelated. A homeowner who calls a chimney sweep because their gas fireplace smells strange or shows soot on the glass is often told the unit just needs cleaning. Sometimes it does. More often, the problem is mechanical and no amount of glass cleaning will fix it.
Soot on the Glass
A properly functioning gas fireplace should burn clean with no visible soot. If you’re seeing black buildup on the glass, the unit is running rich, meaning the air-to-fuel ratio is off. The most common cause is a blocked or misaligned burner port. When a port clogs, the gas doesn’t mix with air efficiently, and the unburned fuel deposits as soot. The fix is removing the glass, cleaning the burner assembly, and verifying that the ports are clear. This is a 45-minute job for a chimney technician familiar with gas units, and it’s not something we recommend homeowners attempt without understanding the gas shutoff procedure for their specific unit.
Odd Smell When the Fireplace Runs
A faint, dusty smell on first use of the season is normal; it’s dust burning off the logs and the burner. A persistent, acrid, or gas-like odor is not normal and should not be ignored. If you smell gas, shut the unit off at the valve and call your gas utility first. If the smell is more like burning plastic or a chemical odor, the likely culprit is foreign material in the firebox, often household debris or products that have drifted into the unit. A camera inspection of the vent run may also reveal a disconnected vent section, particularly in older Jurupa Valley homes where the original venting was never upgraded when the fireplace was converted from wood to gas.
Pilot That Won’t Stay Lit
A pilot that lights but won’t hold points to a thermocouple or thermopile problem. These are the safety devices that tell the gas valve the pilot is burning. When they fail, the valve shuts off the gas supply as a safety default. Replacing a thermocouple is a common, $150 to $300 service call, and it’s a job any chimney professional who works on gas units handles routinely. If the pilot won’t light at all, the issue is usually the igniter or the gas supply itself.
Why This Matters for Troubleshooting
Gas fireplace problems get misdiagnosed because they present like cleaning problems. Soot on the glass looks like a dirty unit. A smell when the unit runs seems like a venting issue. A pilot that won’t stay lit feels like a minor annoyance. But each of these has a specific mechanical cause that a sweep-only visit won’t address. When you call a chimney sweep in Jurupa Valley about a gas fireplace issue, ask whether the technician works on gas units and whether they carry gas-specific diagnostic tools. If the answer is no, you’re calling a brush-and-leave operation and the problem will still be there next winter.
Why Your Dryer Vent Belongs in This Conversation
Here’s the connection most homeowners don’t make: the same lint that builds up in your dryer vent is a fire hazard that follows the same physics as creosote in a chimney. Lint is highly combustible, and a restricted dryer vent forces the dryer to work harder, run hotter, and push exhaust through a narrowing passage until the lint itself becomes the fuel. The U.S. Fire Administration reports that dryer fires account for roughly 2,900 residential fires annually, and the leading cause is failure to clean the dryer vent. In Jurupa Valley, where laundry rooms are often located in interior spaces with long vent runs, the risk is amplified because the vent pipe may run 15 or 20 feet through walls before reaching the exterior termination.
We offer Dryer Vent Cleaning in Jurupa Valley alongside chimney sweeping because these are the same category of problem: combustible material accumulating in an exhaust passage that nobody checks until something goes wrong. The symptoms are similar, too. If your clothes are taking longer to dry than they did a year ago, if the dryer exterior is hot to the touch, or if you notice a burning smell when the dryer runs, those are the dryer equivalents of a chimney that’s drafting poorly. The fix is the same: remove the obstruction, verify the vent run is intact, and establish a maintenance schedule. We source venting components from Famco for repairs, because the hardware-store connectors that most homeowners install are not built for the temperatures a restricted dryer vent can reach.
The point is straightforward: your chimney and your dryer vent are two exhaust systems in the same house, and both of them are fire hazards when they’re neglected. A single visit can address both. That’s the practical reason we built our service line to include both trades under one call.
Common Mistakes to Avoid
- Assuming smoke means the chimney is dirty. As covered above, smoke backing up is equally likely to be a damper problem, a flue sizing problem, or a house pressure problem. Sweeping a clean flue wastes money and leaves the actual issue untouched.
- Burning unseasoned wood and expecting a sweep to compensate. Green wood produces stage-two creosote at an accelerated rate. You can sweep twice a year and still see glaze forming if you’re burning oak that was split last spring. In Jurupa Valley, seasoned wood means split and stacked for at least 12 months in a dry, covered location.
- Trusting a liner quote without seeing camera footage. A cracked tile surface and a structurally failed flue look different on camera. Any quote for a liner repair or replacement should be backed by footage you can see and evaluate. If a sweep won’t show you the camera footage, get another opinion.
- Ignoring the damper as a year-round energy leak. A warped damper costs you money in every season, not just when the fireplace is in use. The dollar-bill test is free and takes a minute.
- Skipping dryer vent cleaning because the dryer still works. A restricted vent doesn’t announce itself until the dryer overheats or the lint ignites. Longer drying times are the early warning sign, and addressing them early is a $150 cleaning instead of a $500 repair call or worse.
- Patching a crown crack with hardware-store sealant. Crown cracks need a flexible crown coat designed for thermal cycling. Hardware-store masonry sealant hardens, and when the chimney expands in the Jurupa Valley summer sun, the patch cracks within a season, leaving you right back where you started.
- Conflating a sweep with an inspection. A sweep removes creosote. An inspection diagnoses structural issues, water intrusion, damper function, and liner condition. These are different services, and a sweep-only visit won’t catch the problems this guide describes.
When to Call a Professional
Call a professional chimney sweep in Jurupa Valley when any of these conditions are present: smoke backing up into the room that continues after the flue has been swept, visible cracks in the firebox or flue tiles, water stains on the ceiling near the chimney, efflorescence on the external brick, a damper that fails the dollar-bill test, or a burning smell from the dryer that persists after cleaning the lint trap. Don’t wait through another burn season. Chimney problems compound: a small crack becomes a structural issue, stage-two creosote becomes stage-three, and a restricted dryer vent becomes a fire hazard. Chimney Sweep Jurupa Valley offers free estimates in Jurupa Valley. Looking for more guides & resources? Call (866) 285-4905 to schedule a camera inspection and get a straight answer on what your chimney actually needs.
Frequently Asked Questions
A standard chimney sweep in Jurupa Valley ranges from $180 to $320 for a single flue with stage-one creosote. Stage-two creosote removal runs higher, typically $350 to $500, because it requires mechanical rotary cleaning. If your chimney also needs a camera inspection, expect an additional $100 to $150. Call (866) 285-4905 for an exact quote based on your flue condition.
The standard is annual sweeping for chimneys that see regular use, defined as more than a cord of wood per season or more than 50 fires per year. In Jurupa Valley, where the burn season is compressed into four months, many homeowners with occasional fireplace use can go two years between sweepings, provided they burn seasoned hardwood. The creosote thickness, not the calendar, is the real measure.
You need a new liner if the existing flue tiles have cracked through, if mortar joints have separated to the point of structural failure, or if the flue is sized incorrectly for the firebox. Surface cracks and spalling can often be addressed with a HeatShield resurfacing instead, at roughly half the cost of a DuraFlex reline. Ask to see the camera footage before agreeing to any liner work.
Creosote accumulates, the flue narrows, and the draft degrades. Stage-three creosote becomes a chimney fire risk. A cracked flue liner allows heat and combustion gases to escape into the chimney chase, which is how house fires start. A failed damper costs you hundreds in energy loss annually. None of these problems self-correct, and each costs more to fix the longer it’s deferred.
You can remove loose stage-one soot with a DIY brush kit, but you can’t see what you missed, you can’t remove stage-two glaze effectively, and you won’t catch hidden structural issues. We’ve cleaned flues in Jurupa Valley that homeowners had brushed themselves for years, only to find stage-two creosote coating the upper flue where the DIY brush never reached properly and a cracked tile the homeowner didn’t know existed. Professional sweeping includes the inspection that DIY cleaning skips.
A campfire smell on humid days is the physical signature of creosote in the flue absorbing moisture. The smell is not a sign of water intrusion; it’s the creosote itself rehydrating and off-gassing. The fix is a sweep, but if the smell persists after cleaning, there’s likely a secondary issue with the damper seal or a negative pressure situation pulling chimney air into the house. Call (866) 285-4905 and we’ll diagnose it.
The Bottom Line
Chimney problems are diagnosable by symptom, and the diagnosis determines the fix. Creosote buildup needs a sweep. A warped damper needs replacement. Flue sizing issues are structural and permanent without a liner change. Water intrusion comes from either the crown or the flashing, and the fix is different for each. Before you call a sweep in Jurupa Valley, run the dollar-bill test, note when the smoke backs up, and check for efflorescence on the brick. Then call a professional who can show you the camera footage and name the materials they’re quoting. Chimney Sweep Jurupa Valley does exactly that. Call (866) 285-4905 for a free estimate, and get a straight answer on your chimney before you spend a dollar on a repair.
Written by the team at Chimney Sweep Jurupa Valley, serving Jurupa Valley since 2015.
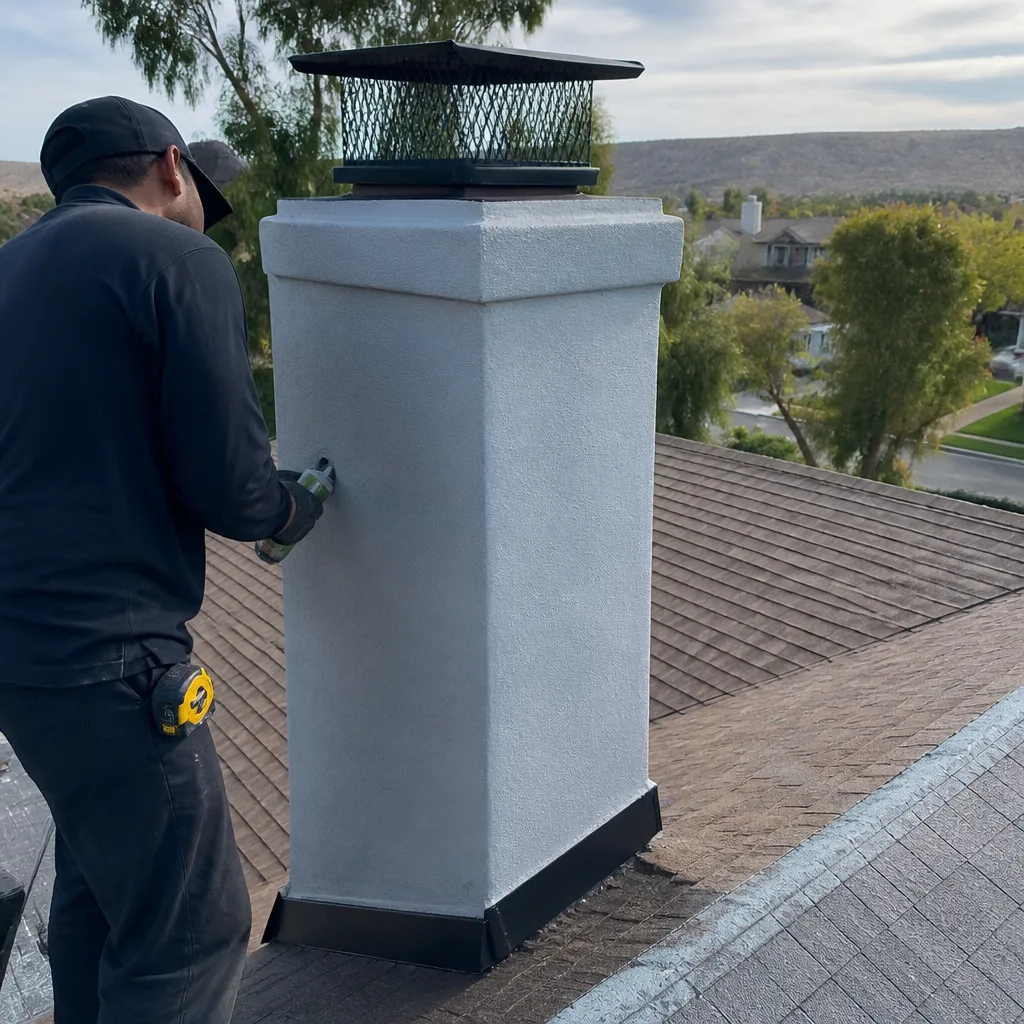
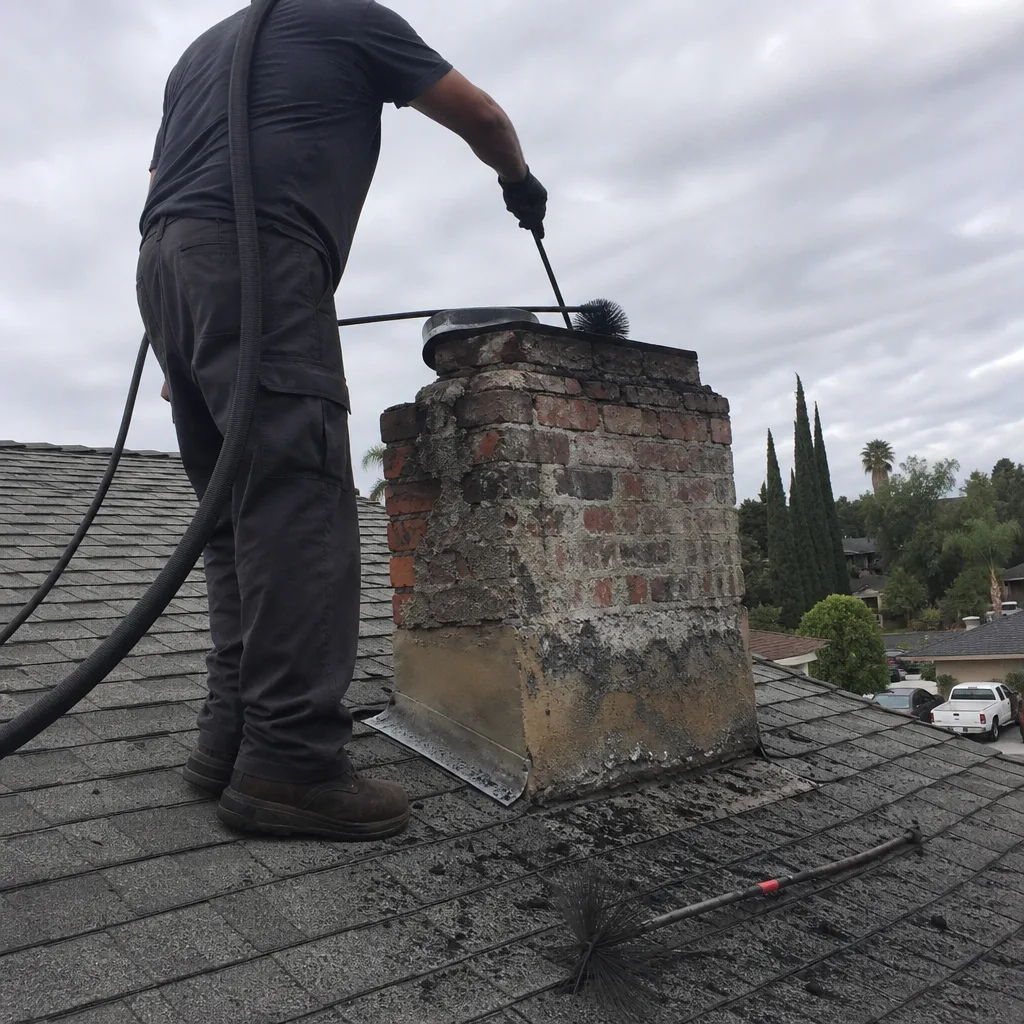
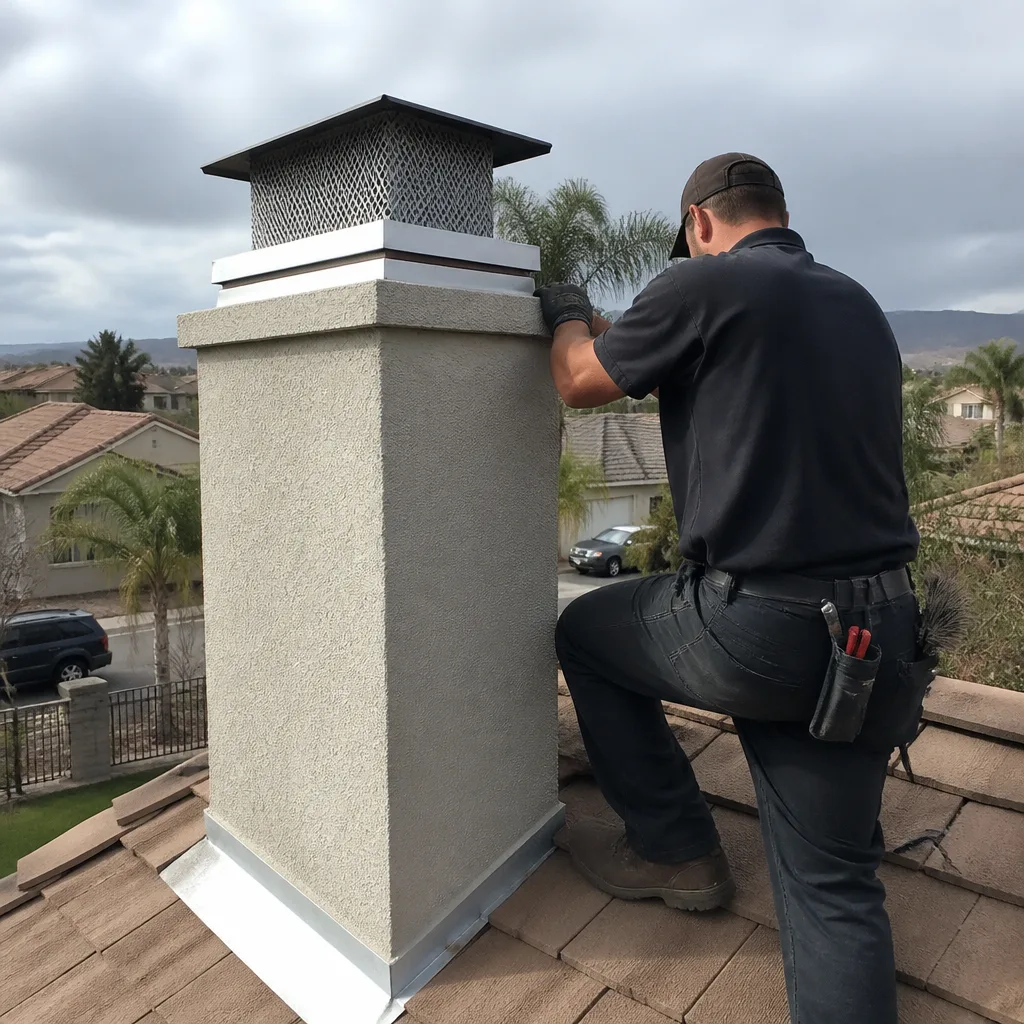
See the difference
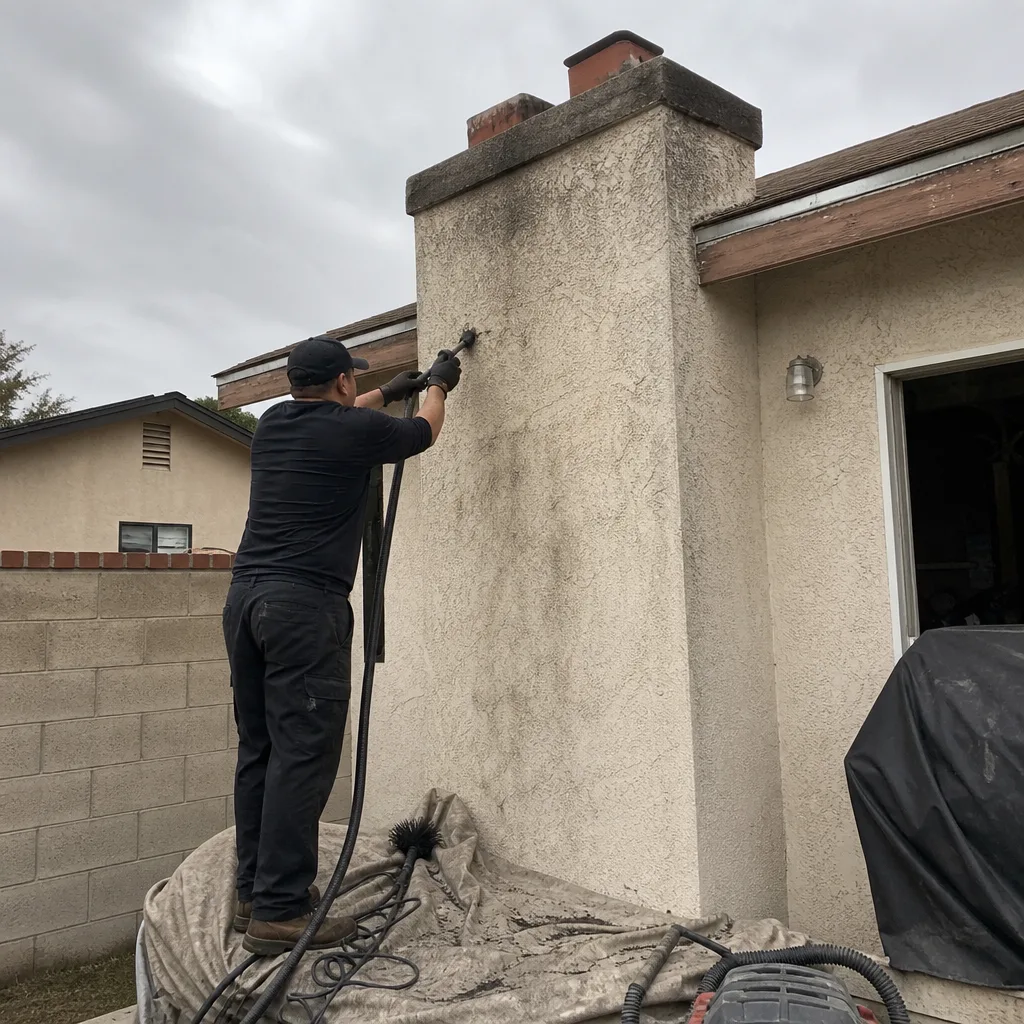 Before
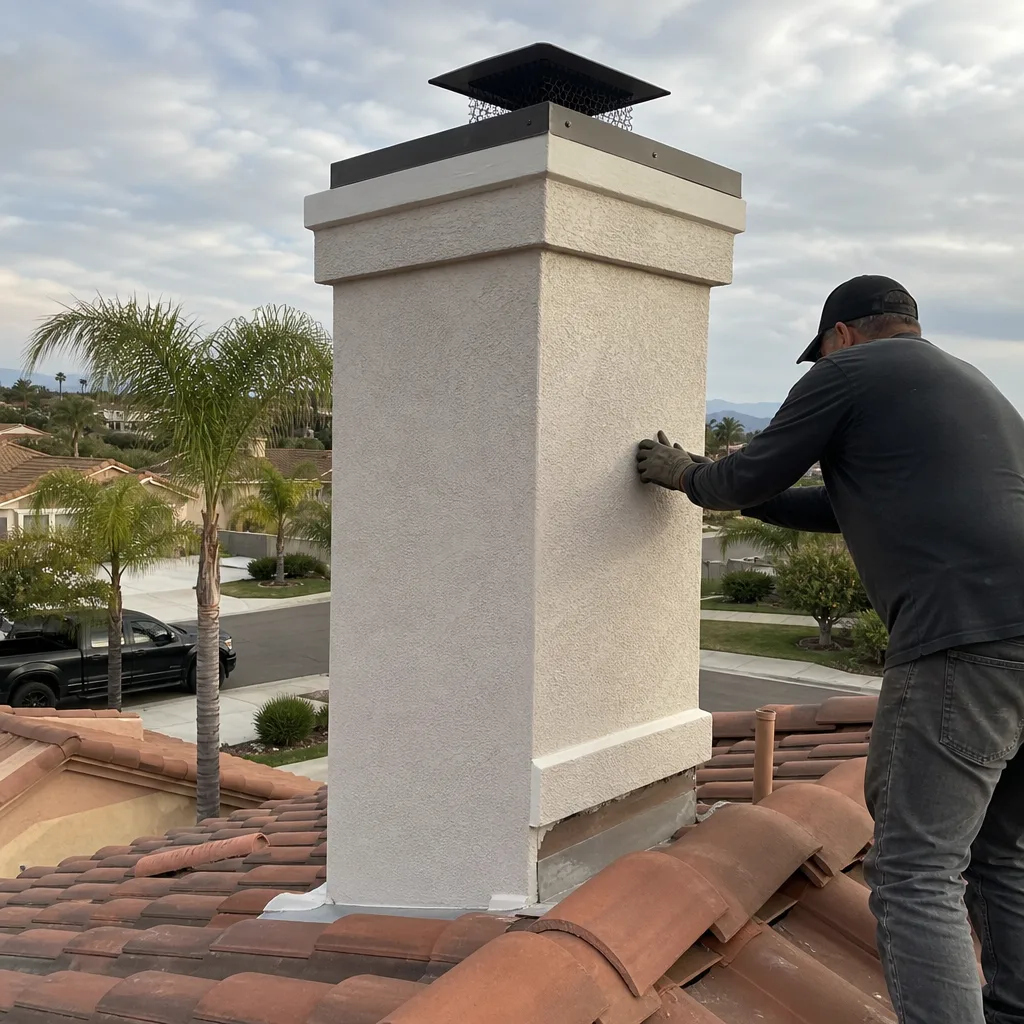 After
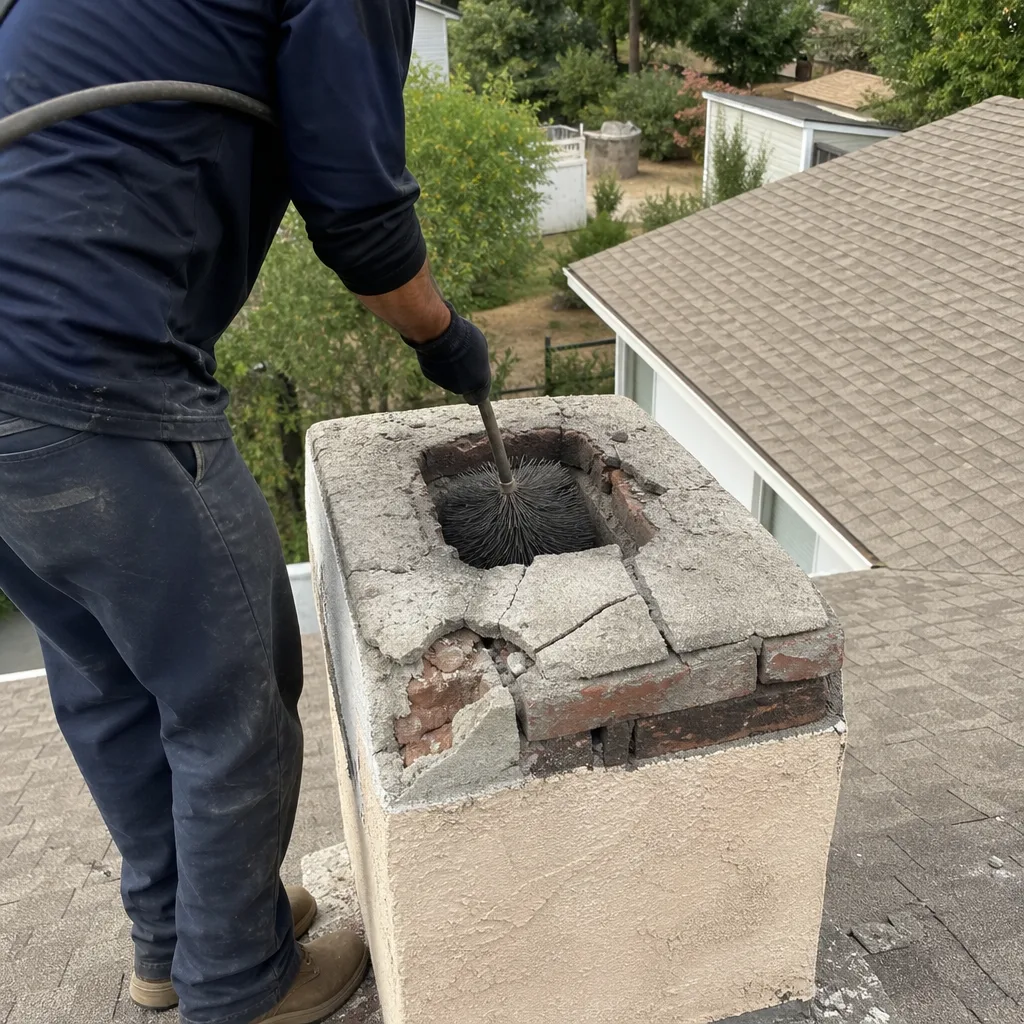 Before
 After
 Before
 After