
Last updated November 2, 2026
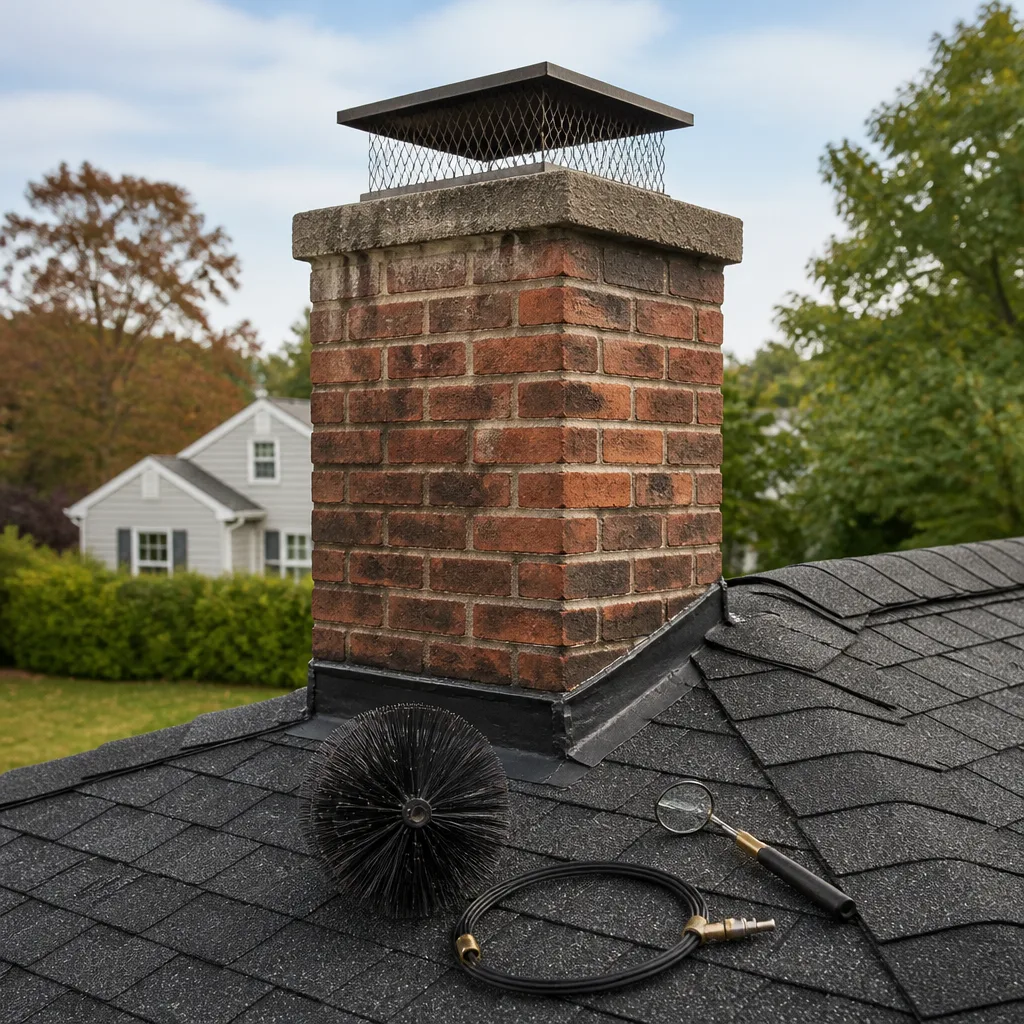 Sweep & inspection
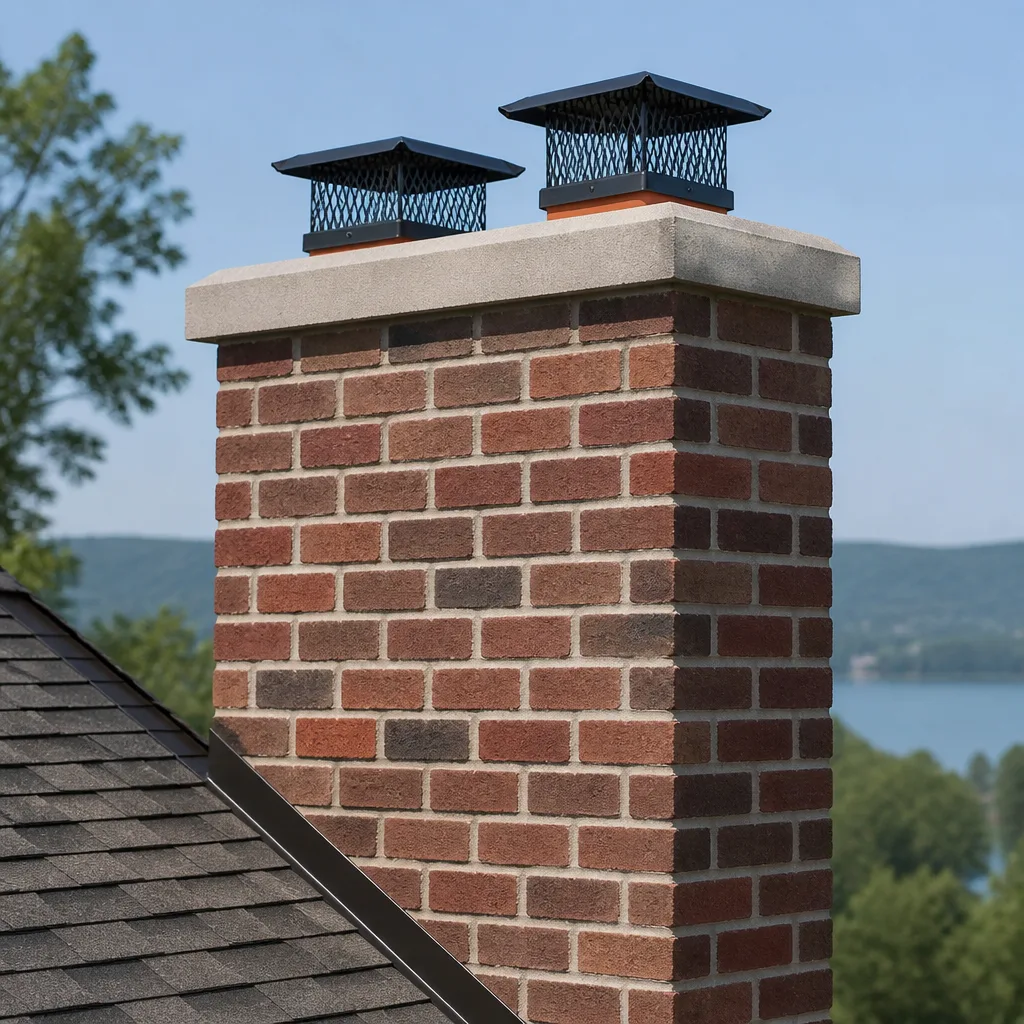 Caps & crowns
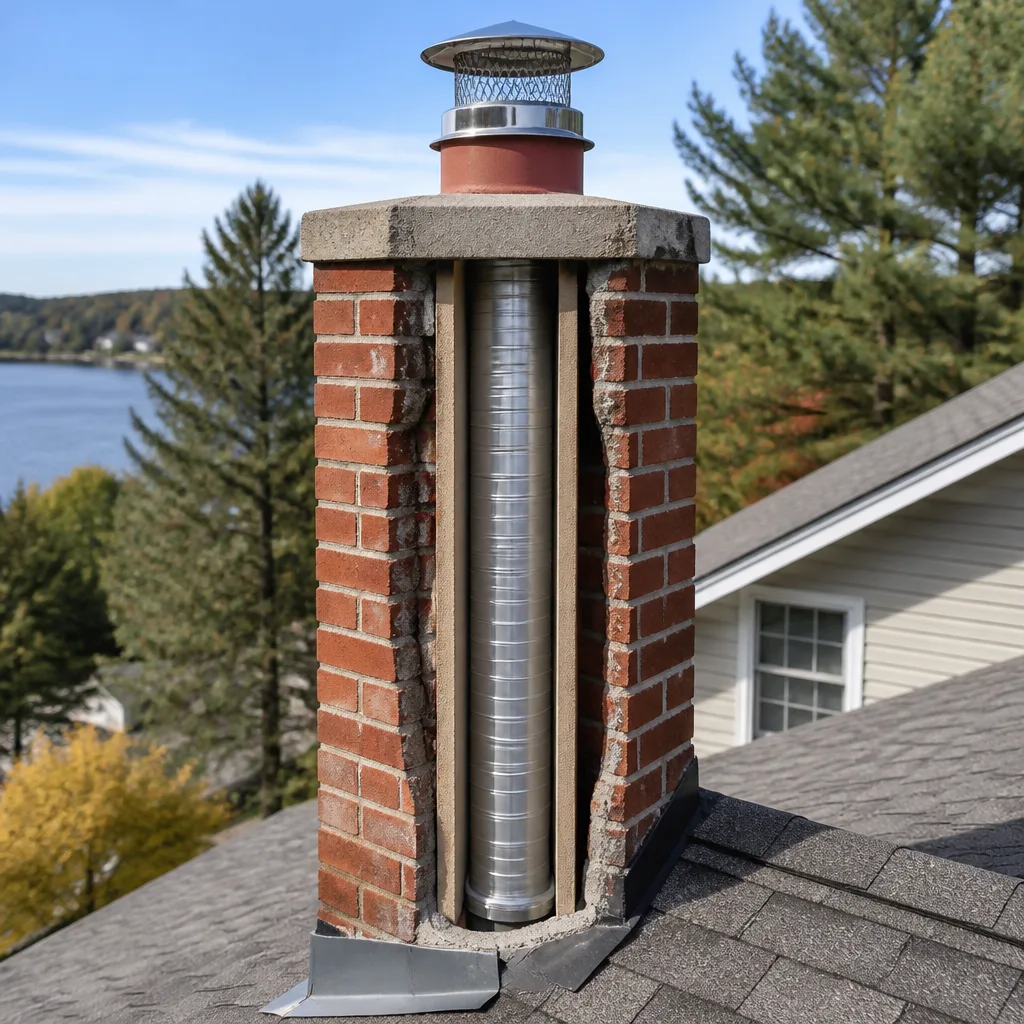 Flue relining
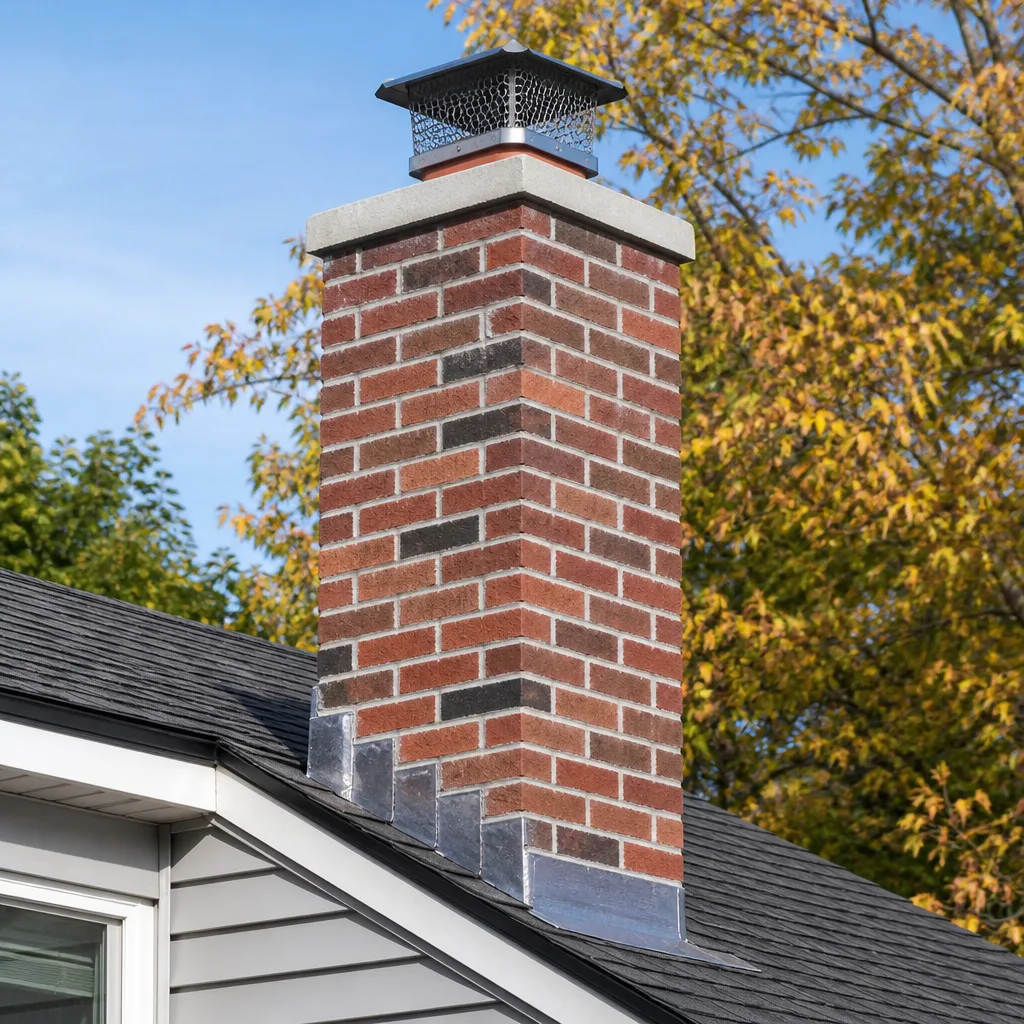 Masonry repair
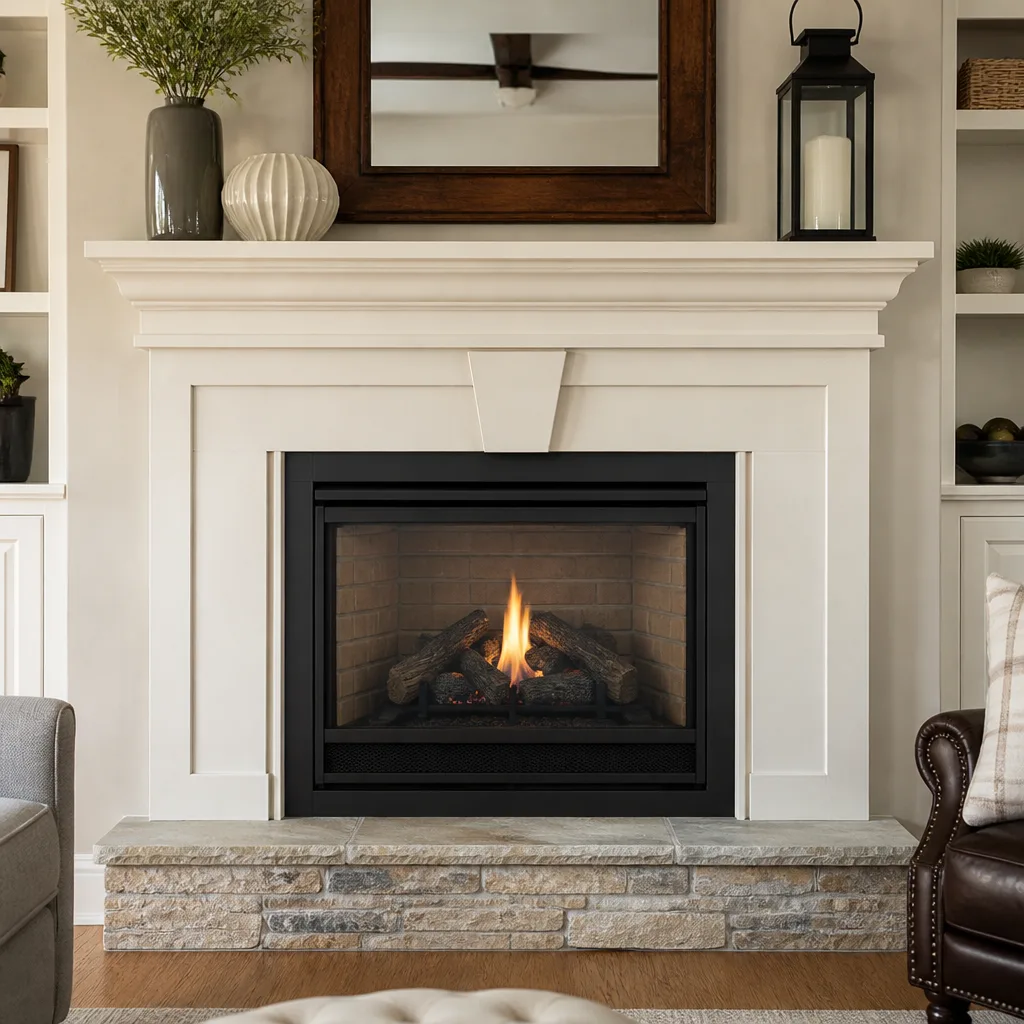 Gas fireplace service
Level 1 sweep and inspection to the NFPA 211 annual standard - flue, crown, cap, and flashing checked and photographed
Chimney sweep logs do not sweep chimneys. They loosen some creosote - which then falls where a brush and vacuum still have to collect it.
Chimney Cleaning Warning Signs: A Jurupa Valley Homeowner’s Reference Guide
Most chimney fires in Jurupa Valley aren’t sudden. They’re the endpoint of a slow, visible deterioration that homeowners learn to tune out because nobody ever taught them what to look for. Smoke that rolls into the living room at startup, a faint barbecue smell on humid August nights, white crust forming on the brick above the roofline. None of these feel like emergencies. All of them are the chimney telling you something specific about its condition. This guide walks through the warning signs by location, from the cap down to the ash pit, so you can identify what’s cosmetic, what’s structural, and what needs a phone call before the first cold night of burning season. For more guides & resources, see our blog.
Styles & brands we work with
- Sweep & inspection
- Caps & crowns
- Flue relining
- Masonry repair
- Gas fireplace service
Quick Answer
Chimney warning signs fall into three broad categories: exterior deterioration (spalling brick, efflorescence, damaged caps), interior flue damage (cracked liner tiles, creosote glaze, smoke staining above the damper), and performance symptoms (smoke rollout at startup, persistent musty or acrid odors, visible soot on the roof near the cap). If you spot any of these, schedule a professional inspection before your next fire. Call (866) 285-4905 for a free estimate in Jurupa Valley.
Table of Contents
- Exterior Warning Signs: Brick, Mortar, and Cap
- Interior Upper Flue Signs: Liner Cracks and Smoke Staining
- Interior Lower Signs: Creosote Drips and Firebox Deterioration
- Smell Signatures: What Each Odor Is Telling You
- Gas Fireplace and Insert Warning Signs
- Carbon Monoxide Risks and Detection
- Cosmetic vs. Structural: A Flashlight Inspection Method
- Common Mistakes to Avoid
- When to Call a Professional
- Frequently Asked Questions
- The Bottom Line
Exterior Warning Signs: Brick, Mortar, and Cap
Start at the roofline. In Jurupa Valley, where summer temperatures routinely push past 100 degrees and winter brings occasional heavy rain, the exterior of your chimney absorbs more thermal stress than almost any other part of your home. That stress shows up in three specific ways.
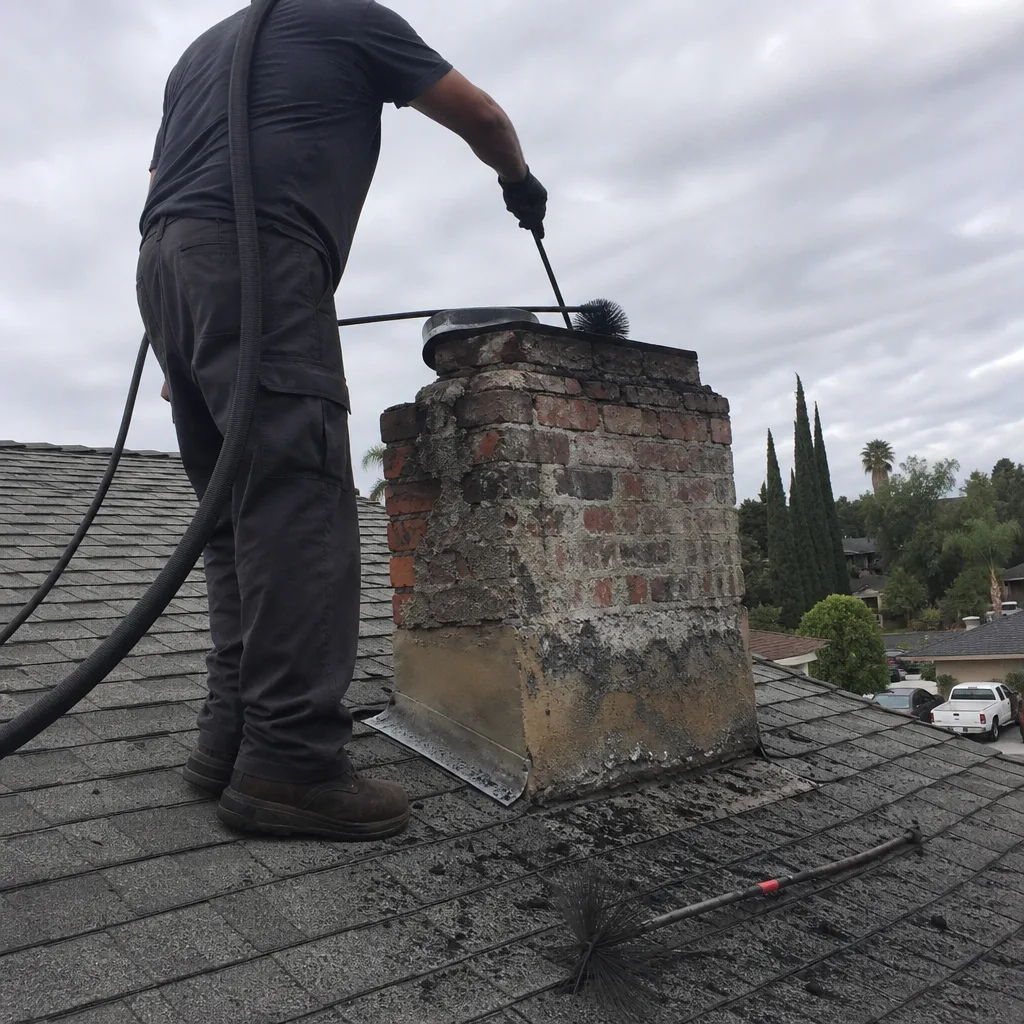
Spalling brick is what happens when moisture penetrates the brick face, then expands and contracts with temperature swings. You’ll see thin slices of brick face flaking off, leaving a rough, pitted surface or brick shards scattered on the roof or ground below. Spalling isn’t just ugly. Each flaked layer exposes more porous brick to water, and in a region that sees sudden downpours between long dry spells, the cycle accelerates fast. Once spalling reaches a half-inch depth, the chimney’s structural integrity is compromised and repointing alone won’t fix it.
Efflorescence is the white, chalky deposit that appears on brick and mortar. It’s salt being pushed to the surface as water moves through the masonry and evaporates. A light dusting after a wet winter is often cosmetic. Heavy, recurring efflorescence, especially if it reappears within weeks of being brushed off, means water is moving through the chimney continuously. That water is finding its way past a failing cap, cracks in the crown, or compromised mortar joints.
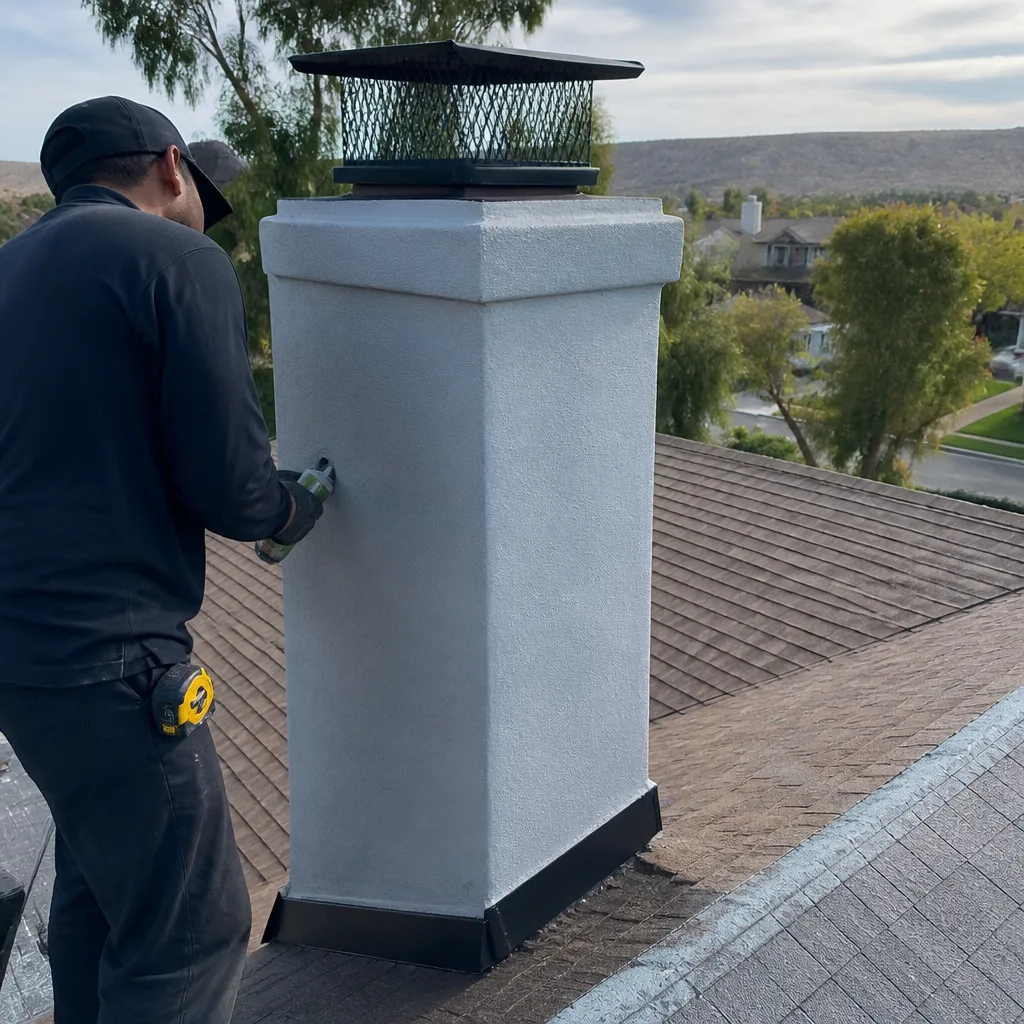
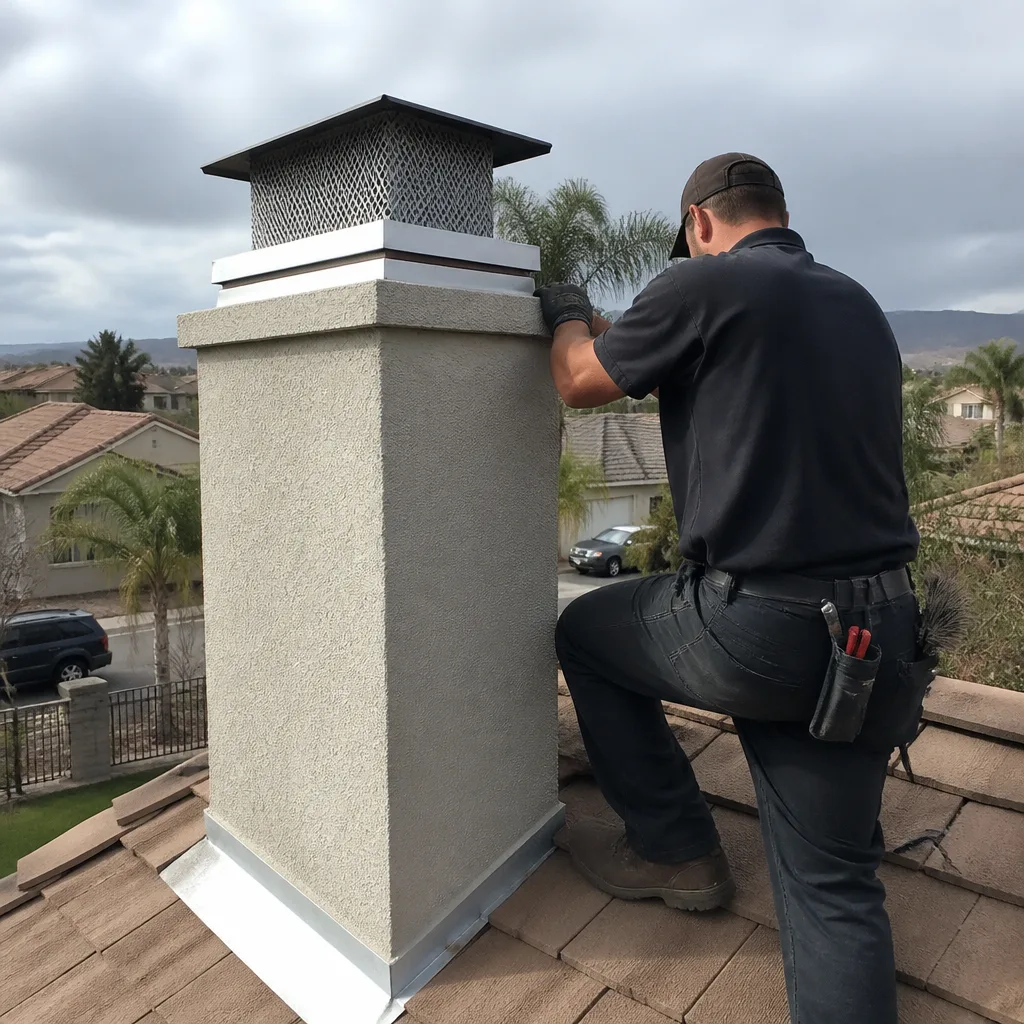
Cap and crown damage is the root cause of most exterior deterioration we see. The crown is the concrete slab that covers the top of the chimney. The cap sits above it, covering the flue opening. When the crown develops hairline cracks, water seeps in and freezes during those rare Jurupa Valley frost nights, widening the cracks into channels. A damaged cap lets rain fall directly into the flue, where it mixes with creosote and produces an acidic slurry that attacks mortar joints from the inside.
What you can check from the ground: whether the cap is still centered and intact, whether the concrete crown has visible cracks wider than a credit card edge, and whether any brick faces near the top have started to slough off. What you can’t check from the ground is why it’s happening. That requires an on-roof inspection, which is part of every standard chimney sweep we perform. For a closer look at what’s involved, see our Chimney Sweep in Jurupa Valley page.
Interior Upper Flue Signs: Liner Cracks and Smoke Staining
The flue liner is the vertical channel that carries smoke and combustion gases from your firebox to the outside. In older Jurupa Valley homes, particularly those built before the 1980s, the liner is often made of terra cotta tiles stacked in sections. These tiles crack. They crack because of thermal shock from chimney fires, because of water damage from a failed crown, or simply because of forty years of expansion and contraction.
Here’s what a cracked liner means in practical terms. The liner’s job is to keep heat, sparks, and toxic gases contained as they travel upward. A single cracked tile creates a gap where those elements can escape into the chimney cavity, the space between the liner and the outer brick. From there, heat can reach combustible framing, and carbon monoxide can backdraft into living spaces.
How do you spot a cracked liner without specialized equipment? Lie on your back in the firebox and point a flashlight straight up. Look for:
- Visible vertical cracks running the length of a tile section
- Gaps or offset tiles where sections no longer align
- Dark staining between tiles where creosote has seeped through
- Flaking or spalled tile surfaces that shed material onto the smoke shelf
What you’re looking at from the firebox is only the lowest few feet of the liner. The upper sections, where tile damage is often most severe due to thermal stress near the top, require a camera inspection. That’s standard practice in our sweeps, and it’s the difference between knowing you have a problem and guessing.
Smoke staining above the damper is another signal. Open the damper and shine your light upward. If you see a thick, matte black coating on the smoke shelf or the lower flue walls, that’s creosote accumulated to a dangerous thickness. A thin, flaky dusting is normal between cleanings. A shiny, tar-like glaze is third-degree creosote, the form most likely to ignite. Smoke staining that extends down onto the damper plate usually means the damper wasn’t fully open during previous fires, forcing smoke to spill backward instead of drawing upward.
If you find liner damage or heavy creosote glazing, professional repair is the next step. Our Chimney Repair in Jurupa Valley page covers what a typical repair scope looks like.
Interior Lower Signs: Creosote Drips and Firebox Deterioration
The firebox is the chamber where combustion happens. It’s lined with firebrick, a material designed to handle direct flame contact. But firebrick isn’t indestructible, and the failure signs in the firebox are among the easiest for a homeowner to identify.
Creosote drips on the damper plate are a specific, unmistakable sign that your creosote accumulation has moved past the flaky stage into the tarry stage. Creosote forms when wood smoke cools and condenses on the flue walls. In the early stages, it’s a dry, sooty powder. When that powder absorbs moisture, or when fires burn at low temperatures, the creosote becomes a sticky, tar-like substance. That tar runs down the flue walls and drips onto the damper plate, where it collects in black, glossy puddles. If you see those puddles, you’re looking at a chimney that’s well past due for cleaning and at elevated risk of a chimney fire.
Firebox wall deterioration appears as cracked, crumbling, or missing firebrick in the back or side walls of the firebox. Hairline cracks in the firebrick surface are often just cosmetic and normalize with heat. But gaps wider than a quarter inch, or bricks that have begun to shift out of alignment, mean the firebox’s protective lining is compromised. Heat can then reach the structural brick behind it. In Jurupa Valley homes where fireplaces may not have been used for years before a new owner fires them up, we often see firebrick that’s been weakened by moisture intrusion during the idle period. The first hot fire causes it to crack or spall.
What you should check in the firebox:
- Run your hand (when cold) along the back wall of the firebox. Feel for bricks that wiggle or have recessed from their original plane.
- Inspect the mortar joints between firebricks. Eroded mortar thinned to less than a quarter inch of depth needs repointing.
- Look at the bottom of the firebox. A cracked hearth slab inside the firebox can let embers drop into the ash pit below, creating a hidden fire risk.
- Shine your flashlight at the damper plate from below. Black, shiny drips are creosote. You’re seeing the result of repeated low-temperature burns.
These lower-chamber signs are often the first thing we document when we arrive at a home that hasn’t been swept in years. The good news is that cleaning and repair for firebox issues is straightforward when caught early. The bad news is that ignoring firebrick deterioration until it fails can mean an expensive rebuild. That’s the point of our Chimney Sweep Jurupa Valley home service page, which details what a full inspection and cleaning includes.
Smell Signatures: What Each Odor Is Telling You
Your nose is one of the most reliable diagnostic tools you own, and in Jurupa Valley’s dry climate, certain smells are amplified during the summer months when the chimney sits idle. Each distinct odor points to a different issue.
Musty, damp odor, strongest in summer. This is moisture. It comes from water entering the chimney, collecting in the masonry or in creosote deposits, and slowly evaporating. During Jurupa Valley’s hot season, when the chimney is unused and the exterior brick heats up, this evaporation intensifies and the smell drifts down through the damper. This happens because a cap or crown has failed, or because the chimney lacks a proper rain cover entirely. If you only notice the musty smell in July and August, that’s still moisture. It’s not seasonal humidity; chimneys in dry climates don’t absorb moisture from the air, so the source is an actual leak.
Sharp, acrid, almost chemical smell at fire startup. This is heavy creosote reacting to heat. As the flue warms, the tar-like creosote begins to off-gas, producing an odor that many homeowners describe as smelling like a burnt grill mixed with industrial solvent. The first fire of the season is when this smell is strongest. After a few minutes, the odor fades as the flue fully heats and the creosote stops off-gassing. That fade doesn’t mean the problem is gone. It means the creosote has reached a stable temperature for now. The stuff is still in there, and every fire adds another layer on top of it.
Sulfur or rotten-egg smell, usually from a gas fireplace or insert. This is a gas combustion byproduct and it means the venting system for the gas appliance isn’t working properly. Gas inserts vent through the existing chimney flue, often through a smaller metal liner. If the liner is damaged, blocked, or incorrectly sized, combustion gases aren’t moving out. They’re pooling inside the chimney or backdrafting into the room. A sulfur smell is not a “gas smell” in the utility-company sense; natural gas itself is odorless until mercaptan is added. If you smell it coming from your fireplace area, shut off the appliance and get it inspected.
The smell tests are simple: note when you smell it, what it smells like, and whether it’s tied to weather, fire usage, or both. We use that information to narrow the diagnosis before we even get on the ladder.
Gas Fireplace and Insert Warning Signs
A common misconception is that gas fireplaces don’t create chimney problems. They do. They just create different ones, and the warning signs can be less obvious because there’s no creosote buildup and no wood-smoke smell to tip you off.
Gas combustion produces water vapor and acidic compounds. In a properly vented system, those byproducts travel up and out. But when a gas insert is vented through an existing masonry chimney without a properly sized liner, the flue is often too large. The gases cool too quickly, condense on the flue walls, and create a mildly acidic condensate that eats at mortar joints. Over time, the chimney deteriorates from the inside out, and the homeowner never sees it because there’s no creosote to make it obvious.
Warning signs specific to gas systems:
- White, chalky deposits on the exterior brick near the top, same as a wood-burning system, but caused by acidic condensate moving through the masonry rather than rain water.
- Visible corrosion or rust on the metal components of the insert, particularly around the vent connection.
- Condensation or moisture inside the firebox glass during operation, which suggests incomplete venting and the combustion gases are cooling before they leave the chimney.
- Soot streaks on the gas logs or ceramic media, which means the flames are impinging on the media and burning poorly.
- A lazy, yellow flame instead of a crisp blue-orange flame. A gas appliance that’s burning correctly has a flame with a clear blue base. A mostly yellow, smoky-looking flame means incomplete combustion and possible carbon monoxide production.
The chimney matters for gas systems even though there’s no smoke. That’s the headline. And the fix often involves relining the chimney with a properly sized metal liner. Chimney Repair in Jurupa Valley work commonly involves exactly this scenario: installing a correctly sized liner for a gas insert that was originally vented through a wood-burning flue with no modification.
Carbon Monoxide Risks and Detection
Carbon monoxide kills silently and does not discriminate between wood and gas. Any appliance that burns fuel, whether it’s a fireplace, a furnace, or a water heater, produces CO. When the chimney or venting system is working properly, the CO exits the home. When it’s not, the CO stays.
Early-stage CO exposure symptoms include headaches, dizziness, nausea, and confusion. The problem is that CO binds to the blood more readily than oxygen, so even low levels over several hours can cause serious illness, and higher levels cause unconsciousness within minutes. Homeowners often attribute these symptoms to the flu, food poisoning, or simple fatigue, which is exactly why CO deaths are most common in winter when people spend more time indoors with their heating appliances running.
For chimneys specifically, here’s what can cause CO backdrafting:
- A blocked flue, whether from a bird nest, a dead animal, collapsed liner tile, or heavy creosote narrowing the passage.
- A cracked liner that allows combustion gases to leak into the chimney cavity and from there into wall spaces or living areas.
- An incorrectly sized liner for a gas insert, which allows gases to cool too quickly and lose their upward draft, pushing back into the room instead.
- Negative pressure in the home, caused by exhaust fans running simultaneously with the fireplace, which can reverse the draft and pull CO down the chimney.
What should you do? Install a CO detector on each level of your home, particularly near sleeping areas. Test it monthly. And if the detector goes off while a fireplace is operating, shut the fireplace down, ventilate the house, and get a professional inspection before using it again. The inspection should include a look at the entire venting path, not just the firebox. That’s a standard part of how we work, regardless of what initially brought us to the home.
Cosmetic vs. Structural: A Flashlight Inspection Method
Not every chimney issue is an emergency, and knowing the difference saves you money and stress. Here’s a methodical way to evaluate what you’re seeing using a flashlight and five minutes of your time.
Step 1: Look at the exterior from the ground. Use a pair of binoculars if you have them. What you’re looking for are signs of movement, not surface marks. Cracks that are static, hairlines in the brick face, and minor efflorescence that appears once and never regrows are often cosmetic. Cracks that are wider at the top than at the bottom, brick faces that have visibly shifted, or chunks of mortar missing from joints that are still white and clean inside indicate active movement. That’s structural.
Step 2: From inside, open the damper and shine your flashlight up. Pay attention to three zones. The smoke shelf, the lower flue tiles, and the damper plate itself. A thin, dusty layer of soot on any of these is normal. A thick, flaky accumulation of creosote that looks like burnt potato chips is not. A shiny, tar-like glaze is the most dangerous condition you can identify visually, and it means the chimney has likely not been swept in years, if ever. Our Chimney Sweep Maintenance Checklist for Jurupa Valley Homeowners can help you stay on track.
Step 3: Check the firebox with the flashlight held at a low angle. Hold the light near the floor of the firebox and aim it across the brick surfaces. Side-lighting reveals cracks, spalled areas, and shifted bricks that a direct head-on light washes out. Hairline cracks in firebrick are generally not a structural concern. Cracks that run continuously through both brick and mortar, or gaps where you can fit a quarter, are structural.
Step 4: Check the damper operation. The damper should open and close smoothly with firm resistance. A damper that’s rusted, warped, or stuck partially open changes the draft dynamics of the entire system. A stuck-open damper lets conditioned air escape constantly. A stuck-closed damper means smoke has nowhere to go but into the room.
What this flashlight inspection tells you is whether you have a problem worth a professional evaluation. What it can’t tell you is the full condition of the upper flue, the smoke chamber interior, or the crown on top. Those require a camera and a ladder, which is what we bring to every Jurupa Valley chimney inspection.
Common Mistakes to Avoid
- Ignoring startup smoke because it “goes away.” Smoke that rolls into the room during the first minute of a fire is a draft problem. It often means the damper wasn’t pre-heated, the flue is partially blocked, or the chimney is cold enough to have created a cold-air plug. “It goes away” doesn’t mean it’s fine. It means the draft finally established. The underlying cause is still present.
- Confusing efflorescence with waterproofing failure and buying a sealer. Efflorescence is a symptom, not a cause. Sealing over it traps moisture inside the brick and accelerates spalling. The fix is addressing the water entry point, which is almost always the cap or crown.
- Burning pine or other softwoods because they’re cheap and available locally. Softwoods burn hot and fast, but they’re heavy sap producers and create creosote faster than hardwoods. In Jurupa Valley, the most readily available firewood is often whatever’s cheapest at the gas station bundle. Green or sappy wood is a creosote factory.
- Assuming a gas fireplace doesn’t need chimney maintenance. Gas systems don’t create creosote, but they do create acidic condensate that eats mortar, and the venting system still needs to move carbon monoxide out of the home. Annual inspection for gas systems is just as important as for wood-burning systems.
- Waiting until October to schedule a cleaning. Every chimney company in the region gets booked solid in September and October as people prepare for burning season. Scheduling in spring or summer means shorter waits and catches problems before they’ve had another year to worsen. It also means you’re not competing for the first available appointment when cold weather arrives.
- Treating a dryer vent with “out of sight, out of mind” logic. The dryer vent is a fire hazard independent of the chimney. Lint accumulates in the vent run, and because dryers produce consistent heat and forced air, it can ignite without any warning from the chimney system. Dryer vent cleaning is the second most common call we make for household fire prevention. See our Dryer Vent Cleaning in Jurupa Valley page for specifics.
- Failing to document what the chimney looked like when you bought the house. If you purchased a home with an existing fireplace, the condition of the chimney at purchase is your baseline. Without a professional inspection on record, any damage discovered later is impossible to attribute to prior ownership versus your usage. A camera inspection at purchase is a three-figure expense that can protect against five-figure repair costs.
When to Call a Professional
Call a professional if you identify any of the signs above, if your chimney hasn’t been inspected in over a year and you use the fireplace regularly, or if you’ve just purchased a home with a fireplace and have no inspection on record. Call immediately if you experience smoke entering the room that doesn’t clear within the first minute, if you smell gas near the fireplace, if your CO detector activates in the presence of a running fire, or if you see cracks in the firebox wider than a quarter. These aren’t maintenance items. They’re safety items. Chimney Sweep Jurupa Valley offers free estimates throughout Jurupa Valley. Call (866) 285-4905 and we’ll inspect the system, show you the camera footage, and tell you exactly what needs attention and what doesn’t.
Frequently Asked Questions
Chimney cleaning in Jurupa Valley typically costs between $180 and $300 for a standard sweep with a visual inspection, though heavier creosote accumulation, animal removal, or additional repair findings can shift that figure. See Choosing the Right Chimney Cleaning Brand: A Buyer’s Guide for Jurupa Valley for help selecting a provider. Call (866) 285-4905 for an exact quote. Estimates are free.
The National Fire Protection Association recommends a chimney inspection at least annually, and a cleaning whenever creosote accumulation reaches 1/8 inch or more, regardless of how much time has passed since the last cleaning. Homes in Jurupa Valley that burn frequently through the winter should expect to have the chimney swept before each burning season begins.
You need a new liner if the existing liner is cracked, spalling, or no longer sized correctly for the appliance that’s using it. That’s the honest answer. The camera footage tells the story, and any company that recommends a liner replacement should be willing to show you the images and explain exactly what they show. Nothing is recommended without evidence you can see for yourself.
One skipped year is usually not catastrophic for an occasional-use fireplace, but for a wood-burning fireplace used regularly, each burn adds a new layer of creosote, and the rate of accumulation compounds. The worst case is a chimney fire caused by ignited creosote, which can breach the liner and reach the house framing. The more common case is silent deterioration that costs more to fix later than it would have to maintain earlier.
A musty smell in summer is not normal. It means water is getting into the chimney, either through a failed cap, a cracked crown, or damaged flashing where the chimney meets the roof. In Jurupa Valley’s dry climate, the smell isn’t ambient humidity; it’s trapped moisture evaporating through the chimney cavity and down into your home.
Gas fireplaces don’t produce creosote the way wood fires do, but they do produce combustion byproducts that include water vapor and acidic compounds, and those byproducts cause their own form of chimney damage. A gas fireplace that’s never inspected can still suffer from a deteriorating liner, blocked flue, or improper venting that puts carbon monoxide into the home.
The Bottom Line
Chimney warning signs are observable and specific. Spalling brick, recurring efflorescence, cracked firebrick, creosote drips on the damper plate, and the smell signatures of moisture or heavy creosote all point to identifiable conditions. The challenge is that most homeowners don’t know what they’re looking at, and the chimney is easy to ignore until it stops working or becomes dangerous. In Jurupa Valley, where the burning season is short but intense and summer heat stresses masonry, an annual inspection is the cheapest insurance against a chimney fire or carbon monoxide intrusion. If you’ve spotted any of the signs in this guide, call (866) 285-4905 for a free estimate. We’ll show you what’s happening inside your flue, not just tell you what we charged you for.
Written by the team at Chimney Sweep Jurupa Valley, serving Jurupa Valley since 2015.
See the difference
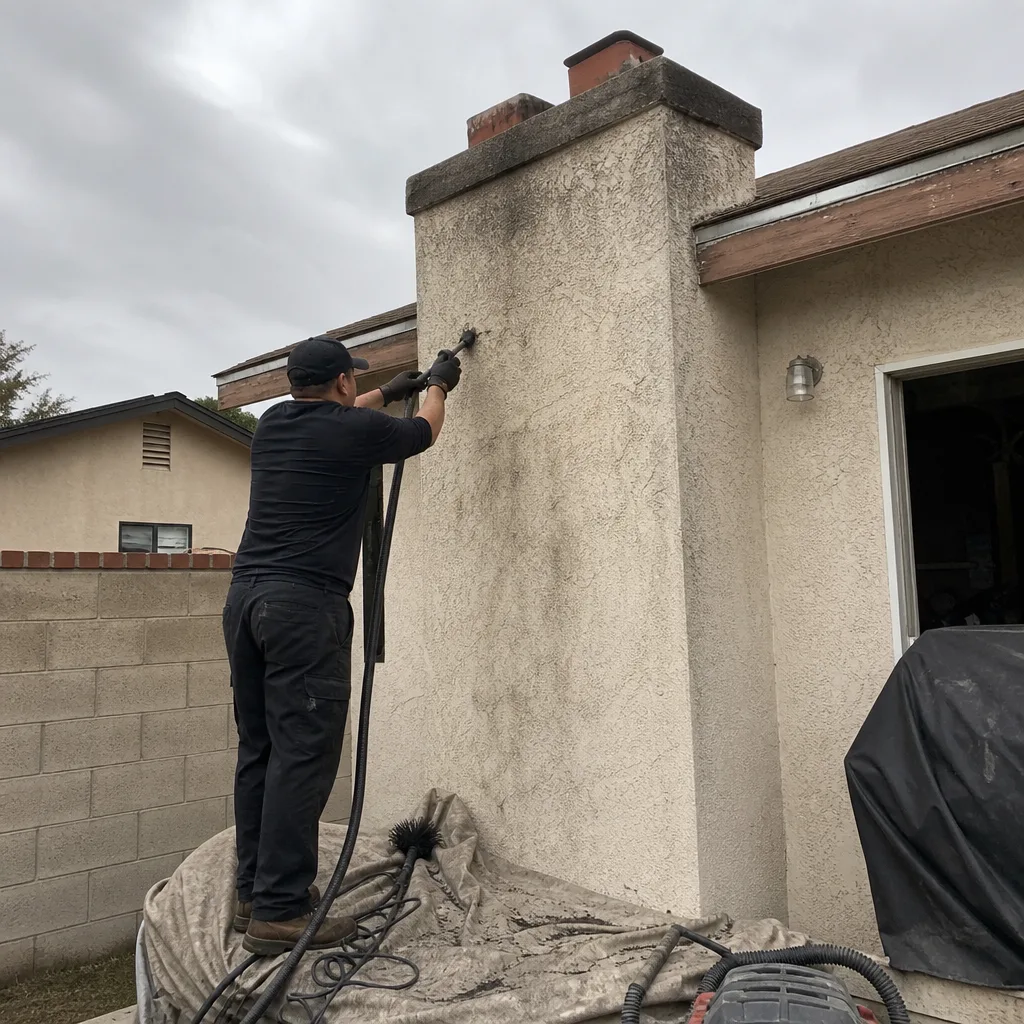 Before
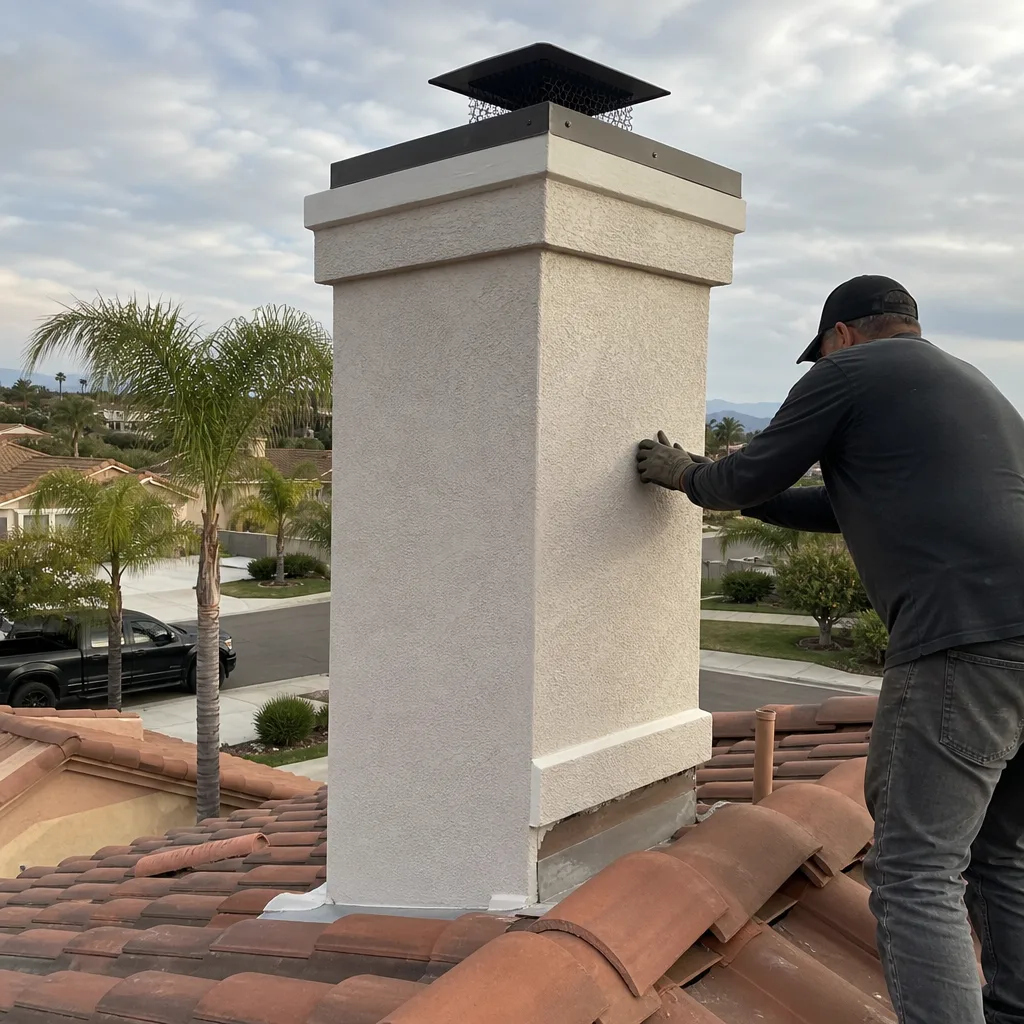 After
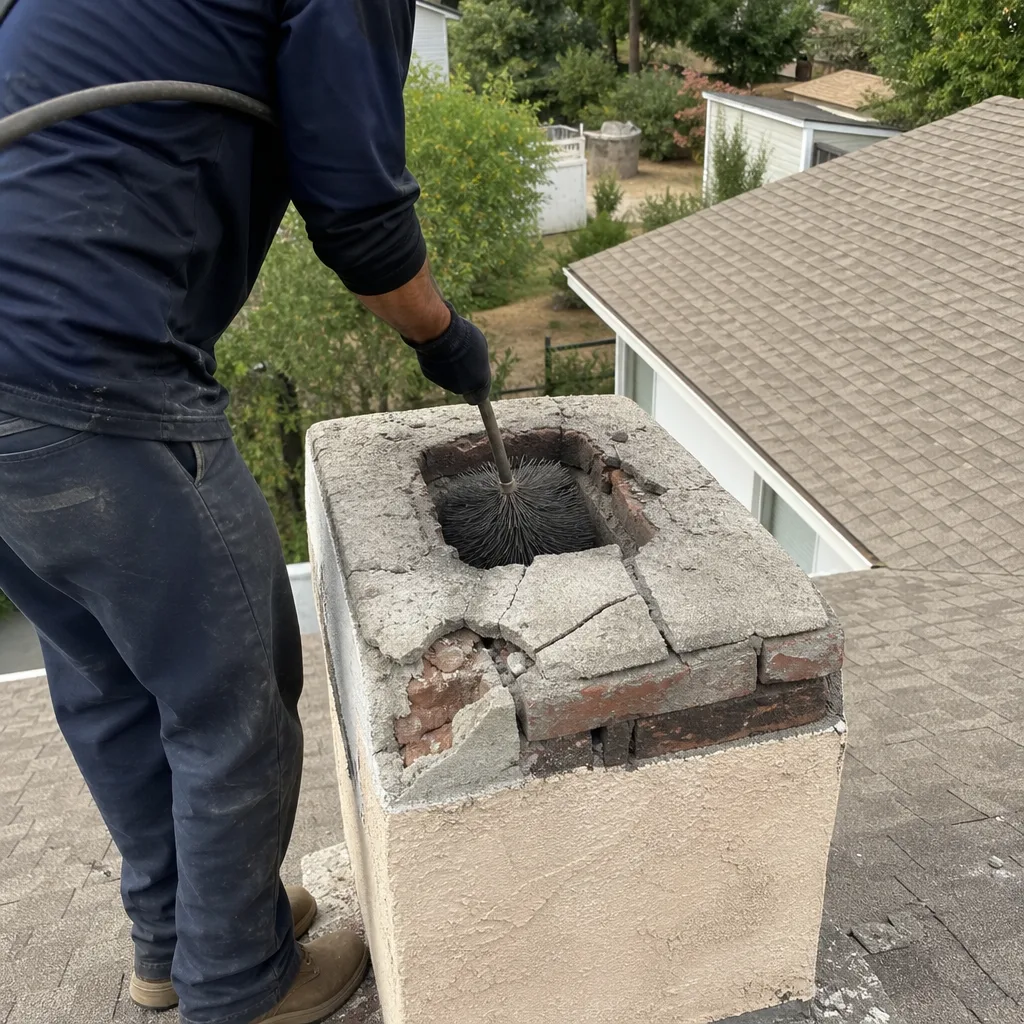 Before
 After
 Before
 After